With BigFix Asset Discovery, you can find devices on your network that are powered on, identify the OS, and install the agent to manage them with BigFix. For details, see https://help.hcltechsw.com/bigfix/9.5/platform/Platform/Asset_Discovery/c_using_asset_discovery.html. You can also clean up stale computers by running the BES Computer remover tool. The removal can be scheduled to run nightly for computers that have not checked in, in a specific duration. For details on the tool, https://help.hcltechsw.com/bigfix/9.5/platform/Platform/Installation/c_clean_up_computer.html
Unfortunately, Active Directory does not support automatic ways of removing old objects. The article explains how you can use BigFix to clean up stale objects in Active Directory. You can also learn how to find computers that are in your Active Directory and not in BigFix. If you have an active machine in BigFix but it has not reported to Active Directory, it could be a machine that is not trustworthy or the user is not connected to the VPN. This procedure also helps you identify what objects are in BigFix but have not joined your domain.
You might want to purchase an Excel add-on that comes in handy when comparing two spreadsheets that is needed for this exercise: Ablebits Ultimate Suite.
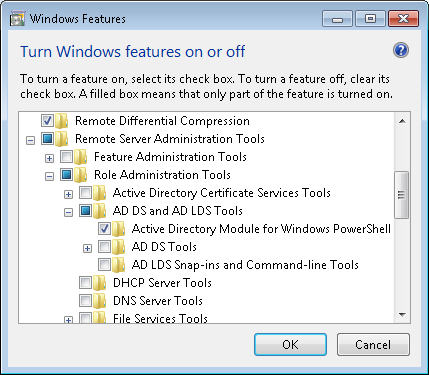
- If you are on Windows 10 1809 build or below, install the RSAT tools. Enable the Active Directory module:
- For Windows 10 1809 and above, run the command in Powershell to import the Active Directory module.
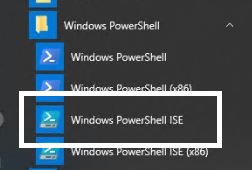
- Run the command from the elevated PowerShell window:
Add-WindowsCapability -Online -Name Rsat.ActiveDirectory.DS-LDS.Tools~~~~0.0.1.0

- Reboot the machine and open PowerShell again.
- Run the following command: get-adcomputer –filter * | format-list name | out-file c:\tools\computers.txt

This command creates a text file of a list of all computers in your Active Directory.
- Open the text file in MS Excel. The following dialog appears:

- Click Finish.
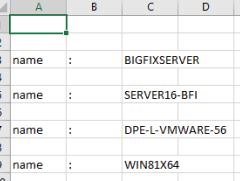
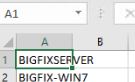
- Delete Columns A and B and sort column C and save the file and exit Excel
You should just see a list of all the computers.
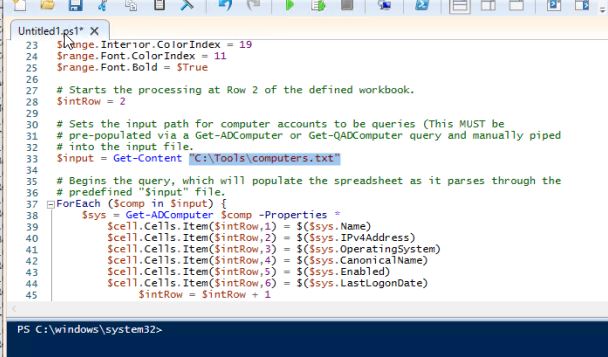
- Copy the script to the powershell window:
# Sets the 'ErrorActionPreference' to continue if an error is encountered.

$ErrorActionPreference = "SilentlyContinue"

# Defines the output file as being an Excel spreadsheet.

$file = New-Object -comobject Excel.Application

$file.visible = $True

# Sets the workbook properties of the spreadsheet.

$workbook = $file.Workbooks.Add()

$cell = $workbook.Worksheets.Item(1)

# Defines the cell labels to be used.

$cell.Cells.Item(1,1) = "Host Name"

$cell.Cells.Item(1,2) = "IP v4 Address"

$cell.Cells.Item(1,3) = "Operating System"

$cell.Cells.Item(1,4) = "Organizational Unit (OU)"

$cell.Cells.Item(1,5) = "Enabled"

$cell.Cells.Item(1,6) = "Last Logon Time Stamp"

$cell.Cells.Item(1,7) = "Notes"

# Defines the range configuration.

$range = $cell.UsedRange

$range.Interior.ColorIndex = 19

$range.Font.ColorIndex = 11

$range.Font.Bold = $True

# Starts the processing at Row 2 of the defined workbook.

$intRow = 2

# Sets the input path for computer accounts to be queries (This MUST be

# pre-populated via a Get-ADComputer or Get-QADComputer query and manually piped

# into the input file.

$input = Get-Content "<PATH to computers.txt file>

# Begins the query, which will populate the spreadsheet as it parses through the

# predefined "$input" file.

ForEach ($comp in $input) {

   $sys = Get-ADComputer $comp -Properties *

       $cell.Cells.Item($intRow,1) = $($sys.Name)

       $cell.Cells.Item($intRow,2) = $($sys.IPv4Address)

       $cell.Cells.Item($intRow,3) = $($sys.OperatingSystem)

       $cell.Cells.Item($intRow,4) = $($sys.CanonicalName)

       $cell.Cells.Item($intRow,5) = $($sys.Enabled)

       $cell.Cells.Item($intRow,6) = $($sys.LastLogonDate)

            $intRow = $intRow + 1

# Upon completion, the columns will resize via an auto-fit for the data in each

#column within the workbook.

$range.EntireColumn.AutoFit()
- Update line 33 of the path of the computers.txt file created earlier:
- Run the script by pressing the play button.

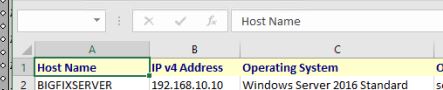
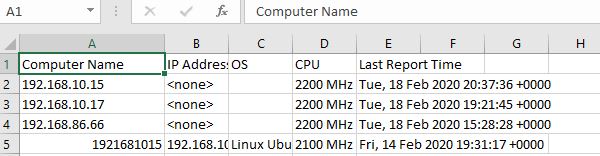
This launches Excel and starts creating a file with information of all of your PCs, such as IP address, OS, OU, If they are enabled, and the last time they checked in the domain, and so on.
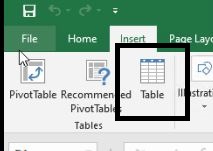
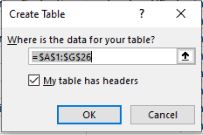
Once the script completes, select the top line and insert a table:
- Select My table has headers and click OK.
- Save the file and Close Excel.
- Log in to WebReports and extract the list of computers in to BigFix.
- Select Explore Data
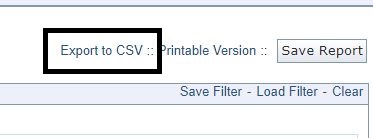
- Add any properties for your report and export to CSV.
- Open the file and select the top row and insert a table.
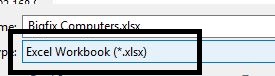
- Save the file as an excel workbook and close Excel.
- Open the AD Computers file saved earlier.
- Click the Ablebits data tab in Excel.
- Click Merge two Tables.
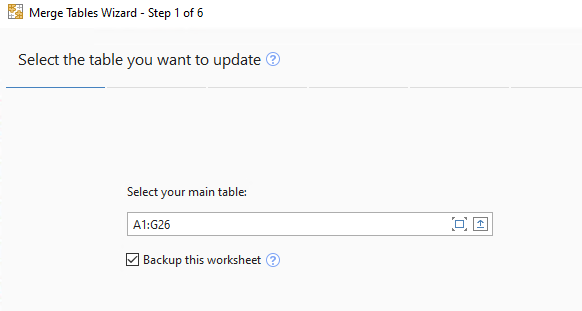
- Select the AD computers worksheet for the first table:
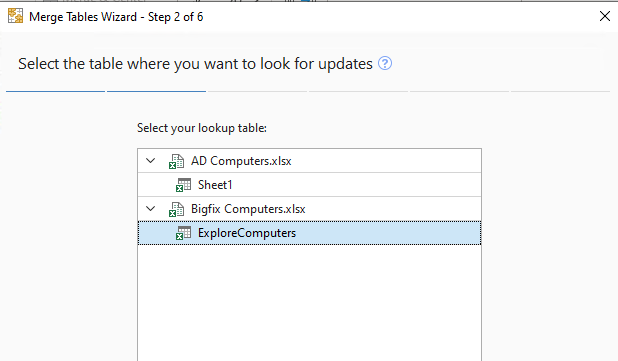
- Select the BigFix table worksheet for merging:
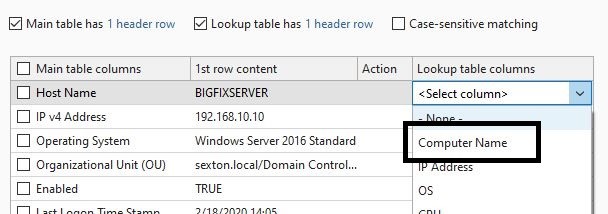
- Select Host Name as the lookup table to merge with the Computer Name column.
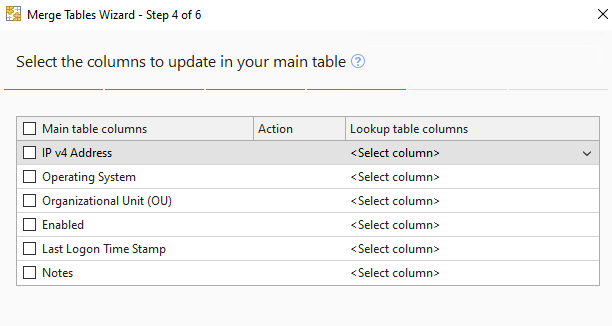
- Click Next when you are prompted to choose the tables you want to update:
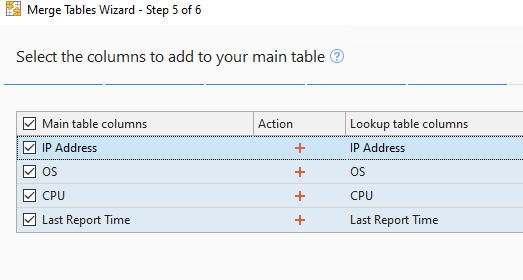
- Select the properties you would like to add to the report:
- Click Finish.
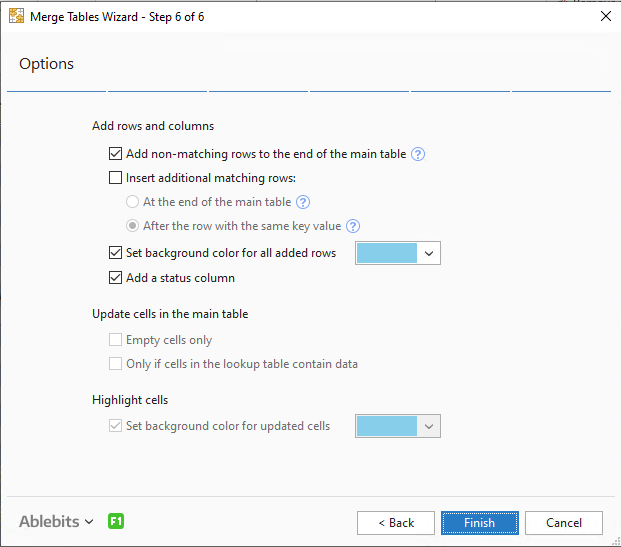
Ablebits merges the two reports by Computer Name:
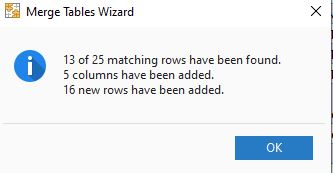
- Check the status column of the merged Excel worksheets.
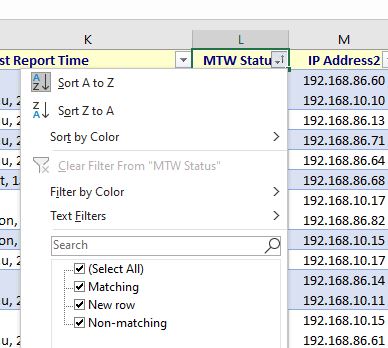
- Matching – Computer is in AD and BigFix
- Non-Matching – Computer is in AD but not in BigFix. This could be due to a stale AD object or the BigFix agent was never installed. Investigation might be required.
- New Rows – Computers that are in BigFix but not joined to the domain or no longer on the domain. Domain membership will need to be investigated.
~~~~~~~~~~~~~~~~~~~~~~~~~~~~~~~~~~~~~~~~~~~~~~~~~~~~~~~~~~~~~~~~~~~~~
Author
Brad Sexton is a BigFix technical advisor for the mid-Atlantic region. He was a BigFix administrator in a global enterprise for 7 years where he was using BigFix for OSD, Software Deployments, and patching. Brad joined the HCL BigFix team in 2018.
Review and editorial credits
Shivi Sivasubramanian is a senior-level technical author and editor with a demonstrated history of working in the technology industry. A firm believer in the magical power of words, she loves helping the community deliver expressive, minimalist, and user-friendly content. Shivi currently leads a team of information developers in BigFix.