BigFix OSD and Bare Metal Imaging is a tool that combines the power of BigFix with utilizing MDT. The tool offers the best of both worlds where you do not need to build a complex yet separate infrastructure for imaging but utilize your current BigFix infrastructure. BigFix has simplified the process for you and removed the complex steps needed to set up a separate MDT environment.
Outlined below is the basic procedure of setting up OSD and Bare Metal Imaging. There are many more advanced configurations you can do with BigFix OSD. Once these steps are complete, you can set up Bare Metal Imaging and reimage existing machines in your environment. With BigFix, you can maintain a driver library to create hardware-independent images, capture images, perform in-place upgrades for Windows 7 to Windows 10 or in-place upgrades for the different builds of Windows 10, deploy custom images, and re-image machines over the internet where it captures the user's profile and restore the user's profile during the process.
With BigFix, I created a single image for a global organization that would name the machine depending on the location, set the correct time zone, join the machine to the domain and correct OU depending on the location, set the correct keyboard, load specific software depending on the location, install language packs and patch the machine 100%, all in the same process. Feel free to reach out, if you have any questions and I'd be glad to help.
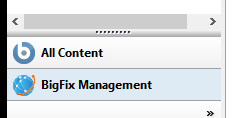
- Open the BigFix Console and go to the BigFix Management site.
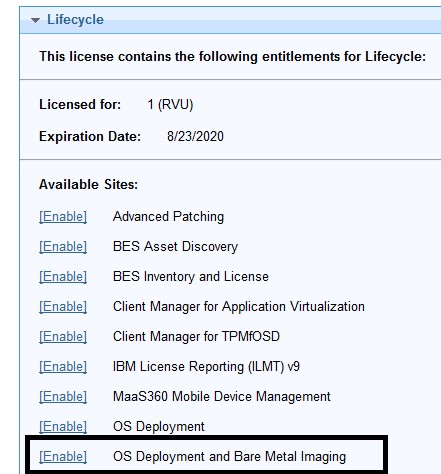
- Under the Lifecycle domain, enable OS Deployment and Bare Metal Imaging.
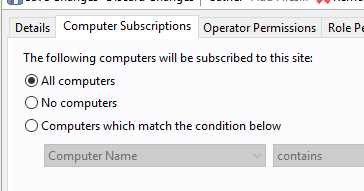
- After the site is enabled, click OS Deployment and Bare Metal Imaging. Wait for the site to gather (You will notice the site gathering in the right hand corner of your console). Once the gather is complete, click the Computer Subscriptions tab and subscribe all computers to the site.

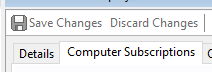
- Change it from No Computers to All Computers and click Save Changes.
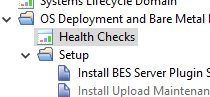
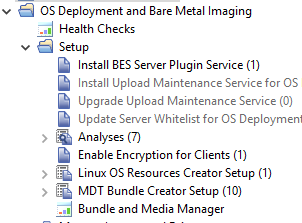
- Go to the system lifecycle domain. Select OS Deployment and Bare Metal and select the Health Checks dashboard.

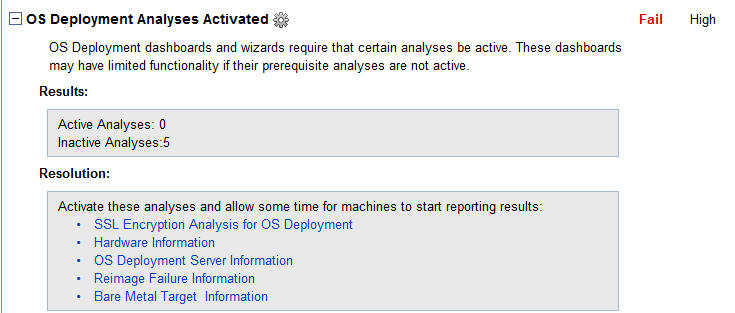
- Activate the 5 Analyses: SSL Encryption Analysis for OS Deployment, Hardware Information, OS Deployment Server Information, Reimage Failure Information, and Bare Metal Target Information
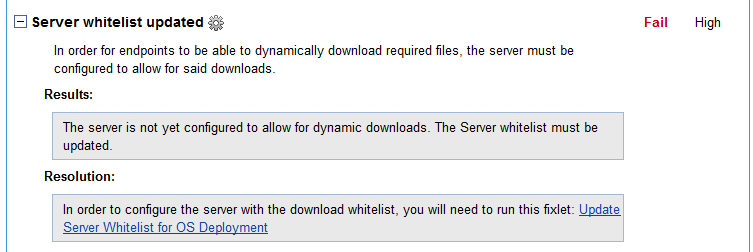
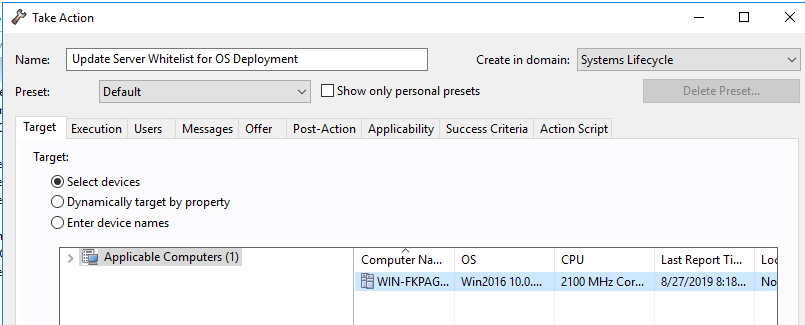
- Update the server Whitelist for OS Deployment by running the Update Server Whitelist for OS Deployment Fixlet.
- Update your relay cache size.
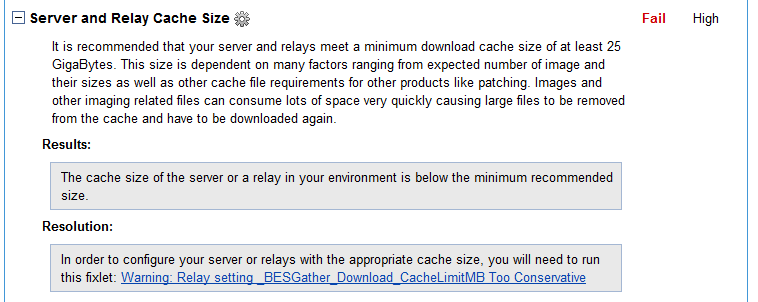
- Run the Relay setting _BESGather_Download_CacheLimitMB_Too_Conservative Fixlet.
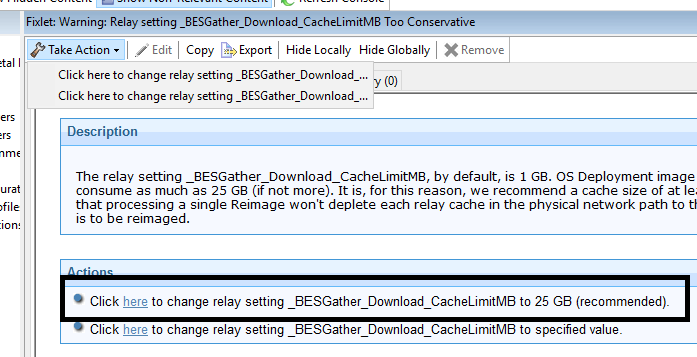
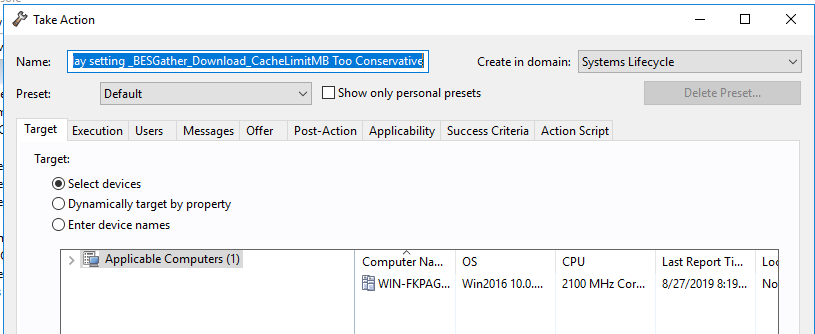
- Select the action to make it 25 GB.
- Select the servers you plan on using as an OSD relay.
This next step is to create an MDT Bundle. The MDT Bundle is basically the Windows PE environment. This will be where machines will boot into to capture and deploy images. My recommendation would be to just use a virtual machine that has the base Windows build you want to deploy. You will only need to create new bundles when you want to change versions of Windows or builds of Windows. Once the bundle is uploaded, you can power off the machine or VM until you are ready to upgrade to a new version of Windows.
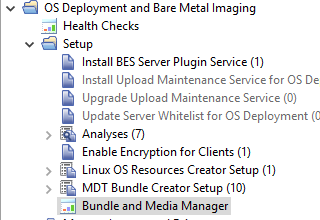
- In the system Lifecycle Domain, go to OS Deployment and Bare Metal Imaging > Setup > Bundle and Media Manager dashboard.
- Activate the Bundle and Media Manager Analysis if it isn’t already active.

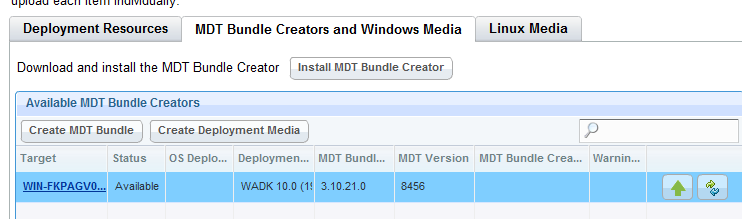
- Select the MDT Bundle and Creators and Windows Media tab.

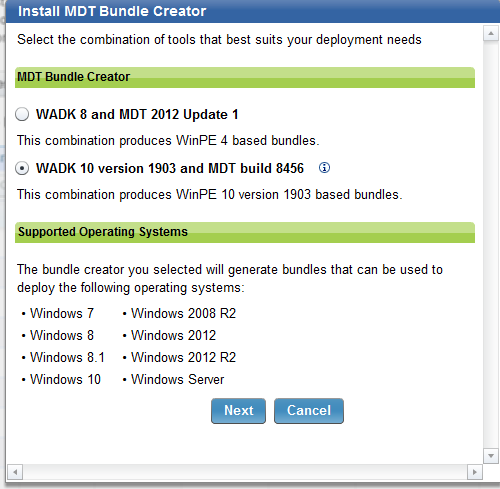
- Click Install MDT Bundle Creator.
- Select the version you want to install and click Next.
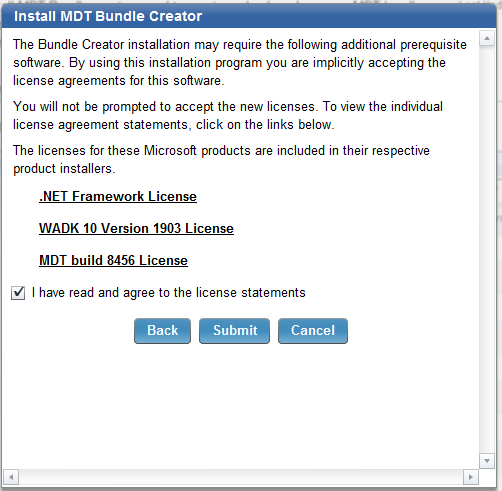
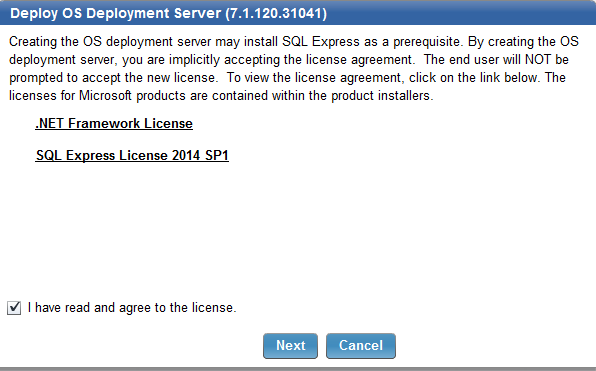
- Select I have read and agree to the license statements and click Submit.
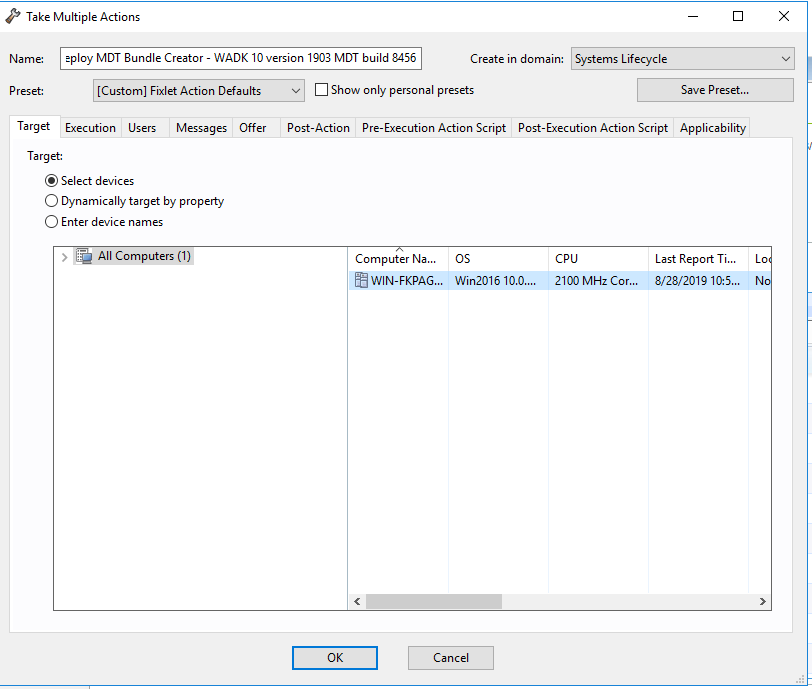
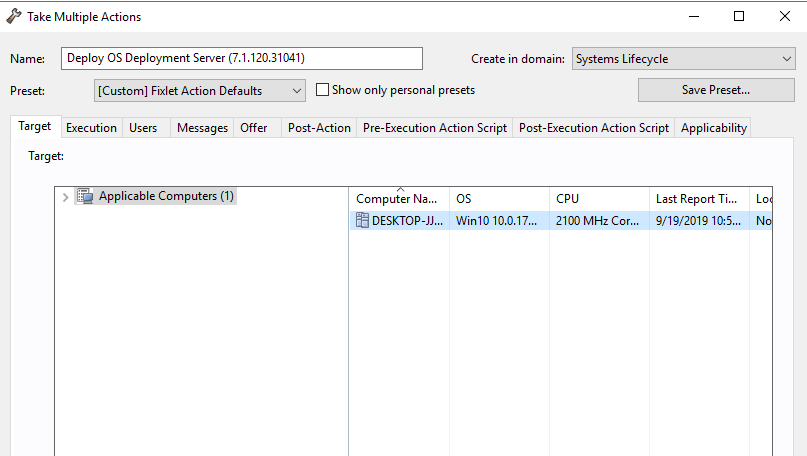
- Select the machine to which you want to deploy the Bundle Creator.
Now that you have a PC with the Bundle Creator and Windows ADK, you can generate a bundle.
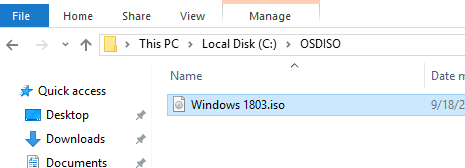
- Create a folder on the machine you deployed the MDT Bundle Creator to C:\OSDISO and copy a Windows 10 ISO to that folder.
- In system Lifecycle, go to OS Deployment and Bare Metal Imaging > Setup > Bundle and Media Manager
- On the MDT Bundle and Creators and Windows Media tab, select the machine to which you deployed the Bundle Creator.
- Click Create MDT Bundle.
- Select Create both MDT Bundle and OS Resources. Select the Include all ISO images from this path check box.
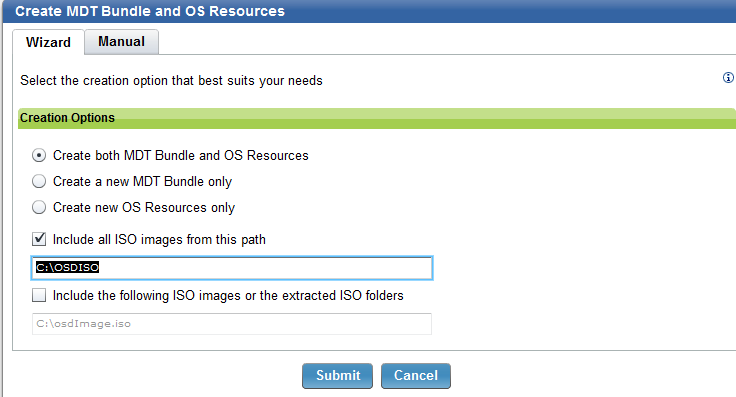
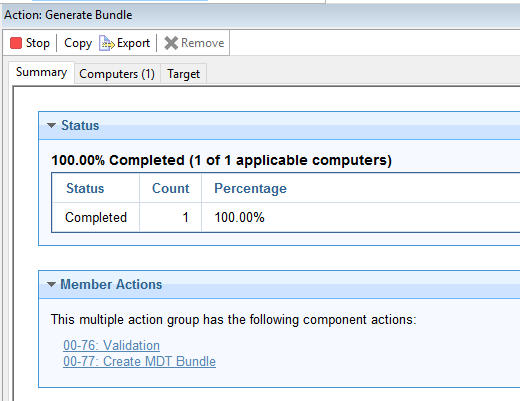
- Click Submit to start the action.
Once the action completes, upload your newly created bundle.
Note: If required, install the BigFix Console on the bundle machine and upload the bundle from there.
- Go back to Bundle and Media Manager Dashboard.
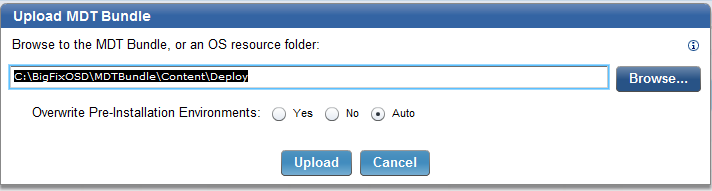
- Open the MDT Bundle Creators and Windows Media tab and click the upload button.

- Click Upload.
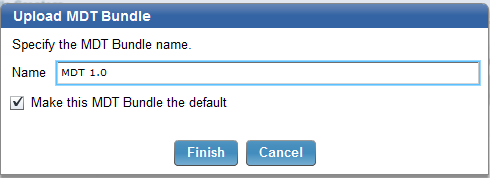
- Enter a name for the MDT Bundle and click Finish.
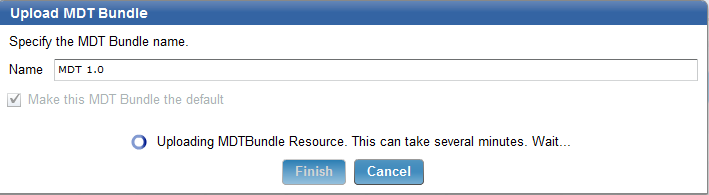
Once your MDT Bundle is uploaded you can now import and ISO or capture and upload a wim file.
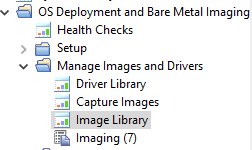
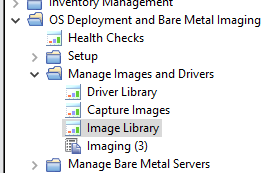
- Go to OS Deployment and Bare Metal and Imaging > Manage Images and Drivers > Image Library.
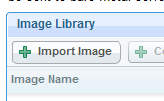
- Click Import Image.
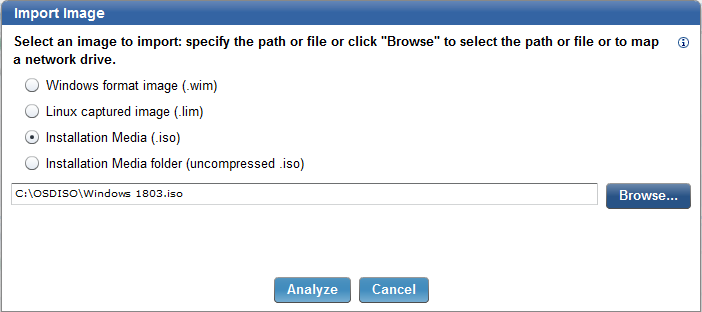
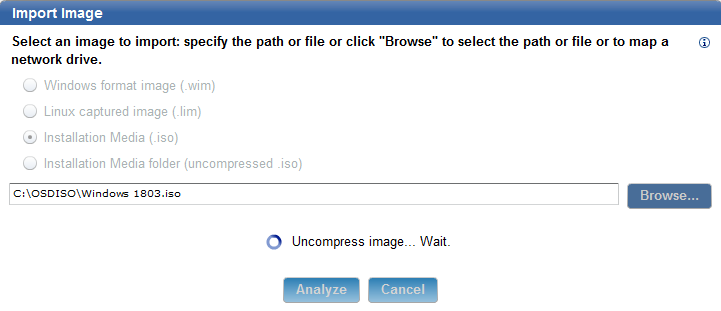
- Select the image file you want to import and click Analyze.
Note: It is recommended to use an ISO file downloaded from the Microsoft Enterprise site. You cannot upload an ISO file that was created by using Microsoft Media Creator.
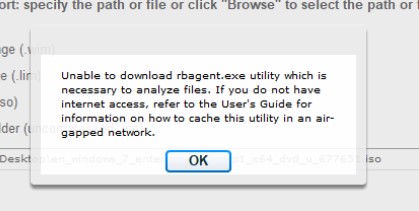
Note: If you receive the error message below, you might need to precache the OSD utilities to your Windows user profile that you used to launch the console. For help with downloading the files manually, see Setting up OS Deployment in an air-gapped network.
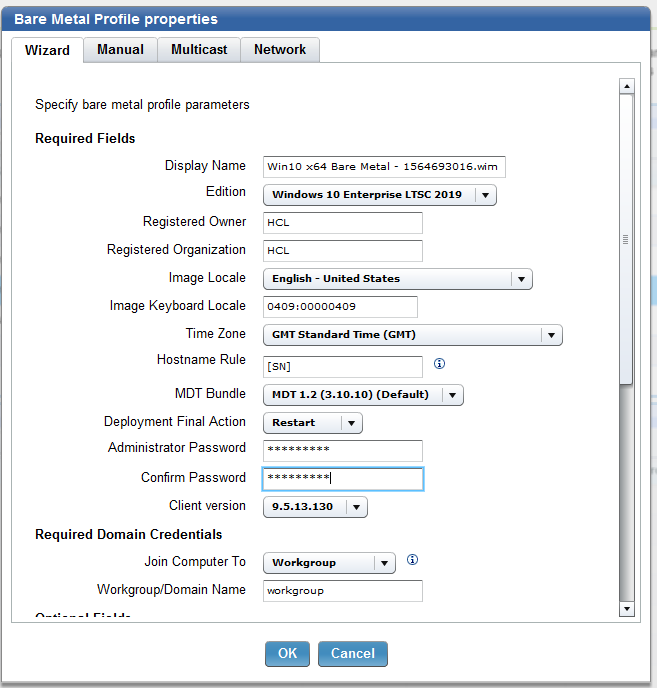
- Once the image is uploaded, you can create an image profile. Click Create Bare Metal Profile.

- Enter values for the Bare Metal profile parameters and click OK.
Note: Setting a password for your image deployments is recommended. This helps prevent users from inadvertently booting to network and mistakenly selecting an image job, and also from imaging a machine by mistake.
This next step is to create Bare Metal Relays. You can use your existing relay infrastructure and add an extra layer to the relays with which you want to image. Once you promote a relay to an OSD relay, that subnet will listen for PXE request. You can also edit your DHCP settings to allow multiple subnets to PXE boot to that relay as well. And then, promote one of the Relays to a Bare Metal Server.
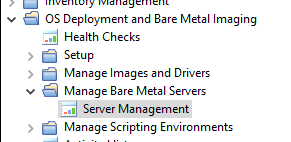
- Click OS Deployment and Bare Metal Imaging > Manage Bare Metal > Server Management.
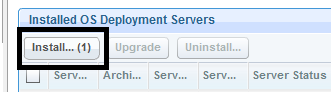
- Click install.
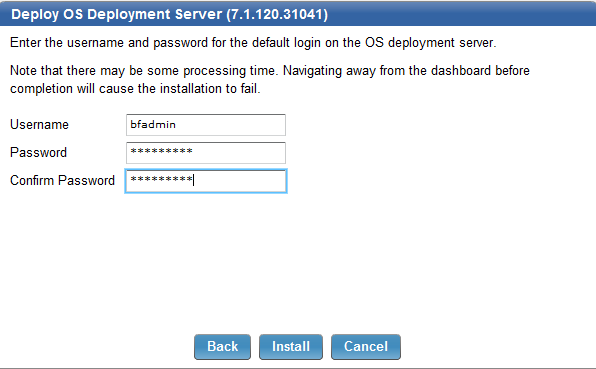
- Enter a username and password for your OSD relay. This is a local password and is independent and a local password.
Note: Save the password. It will be needed in case you need to troubleshoot a failed image job. This account and password is independent from other password you set, so be sure to note this down too.
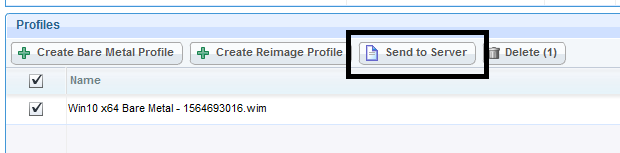
- Deploy your Bare Metal Profile to the newly created OSD relay. Go to OSD Deployment and Bare Metal Imaging > Manage Images and Drivers > Image Library.
- Select the image profile and click Send to Server. Select the relays on which you want the image profile stored.
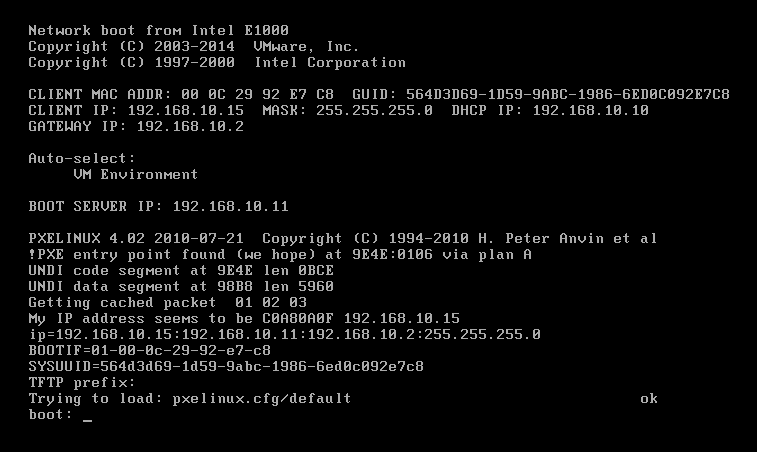
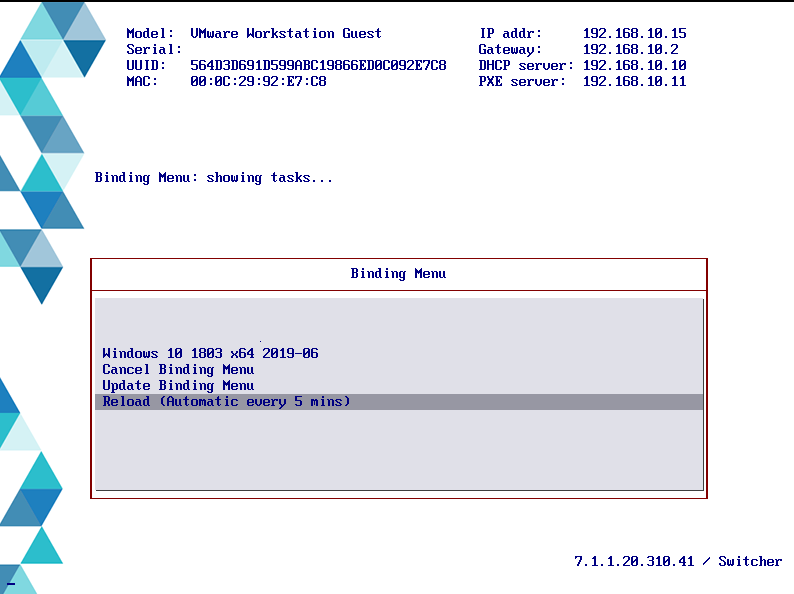
- Once the image is distributed to the relay, image a machine on that OSD subnet through boot to network.
~~~~~~~~~~~~~~~~~~~~~~~~~~~~~~~~~~~~~~~~~~~~~~~~~~~~~~~~~~~~~~~~~~~~~
Author
Brad Sexton
Review and editorial credits
Shivi Sivasubramanian is a senior-level technical author and editor with a demonstrated history of working in the technology industry. A firm believer in the magical power of words, she loves helping the community deliver expressive, minimalist, and user-friendly content. Shivi currently leads a team of information developers in BigFix.