BigFix Mobile has been released! This new release allows new customers or existing BigFix customers to manage mobile devices including: iOS & Android (licensed separately). For Lifecycle or Compliance customers it means they can leverage new laptop management capabilities provided in the Modern Client Management 2.0 release alongside Mobile Device Management all in a completely re-designed User Interface.
Earlier I created a “how-to” guide to help customers setup the MDM server from start to finish for a lab/test environment. Here is an update to help folks install the MDM server for 2.0 on Windows and Mac Devices. First, I will walk through setting up the MCM server for a windows device and then I’ll cover how to add Mac/iOS/iPad support. Reach out to your TA or myself if you are interested in looking at these new capabilities.
Things needed to complete the setup
-RHEL 7.6 and above with docker installed
-LDAPS Enabled in your Environment - http://vcloud-lab.com/entries/windows-2016-server-r2/configuring-secure-ldaps-on-domain-controller
-A plugin server that includes mongodb
-A public facing URL to be used for device enrollment
-A public facing certificate for your MDM URL. Please be sure to included the intermediate certificate often called a cert chain (This is required for Apple devices)
For Windows Devices
-Windows WNS configuration file (https://help.hcltechsw.com/bigfix/10.0/mcm/MCM/Config/c_WNS.html)
For Apple Devices (Mac, iOS, and iPadOS)
-A generated CSR file submitted to HCL along with the Key https://help.hcltechsw.com/bigfix/10.0/mcm/MCM/Config/c_configuring_push_notification_mcm.html
You will then be provided an Apple Push Certificate and instructions on how to submit to your apple developer account and register with apple
Installation of RHEL 7.6 Operating System
Download the 7.6 ISO from Redhat

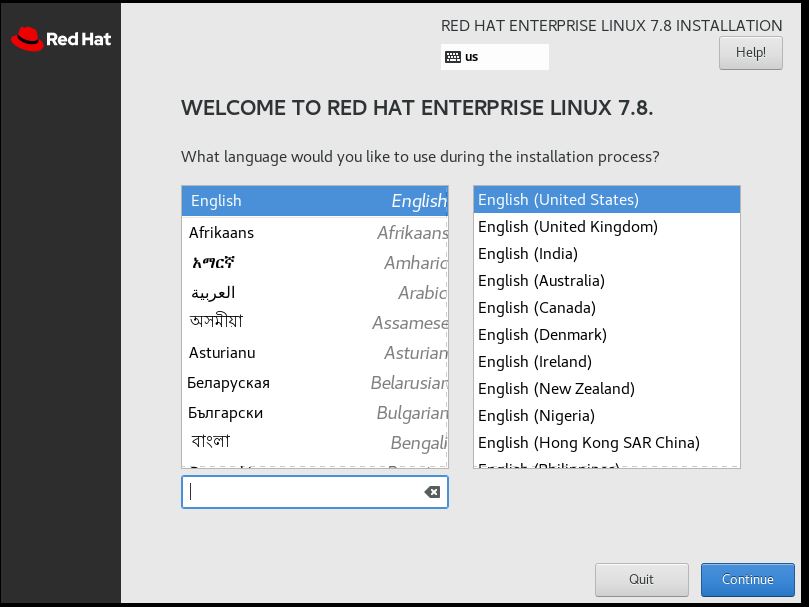
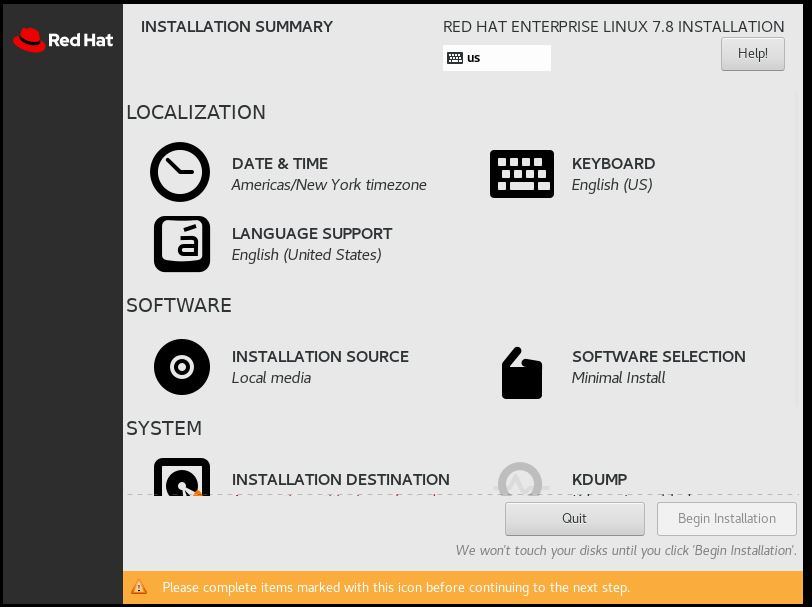
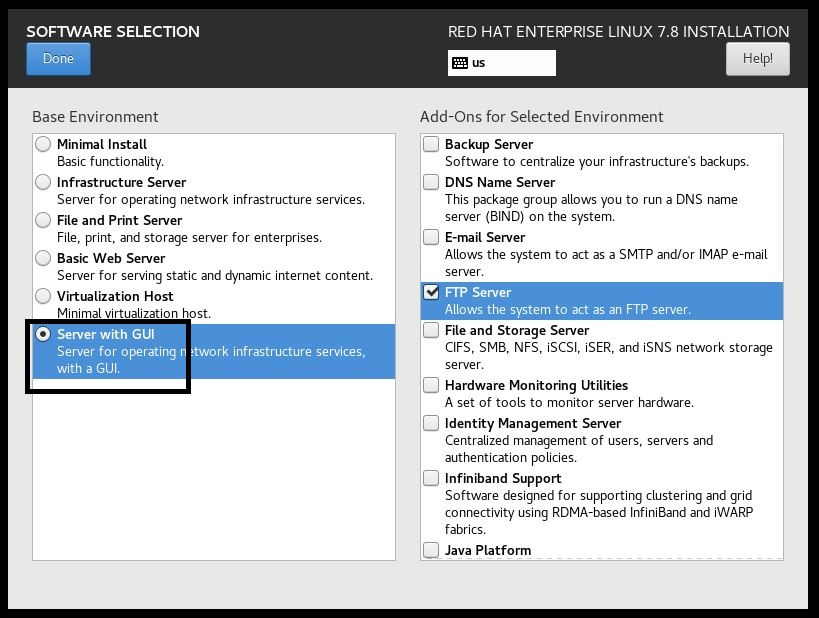
Install the Server with GUI
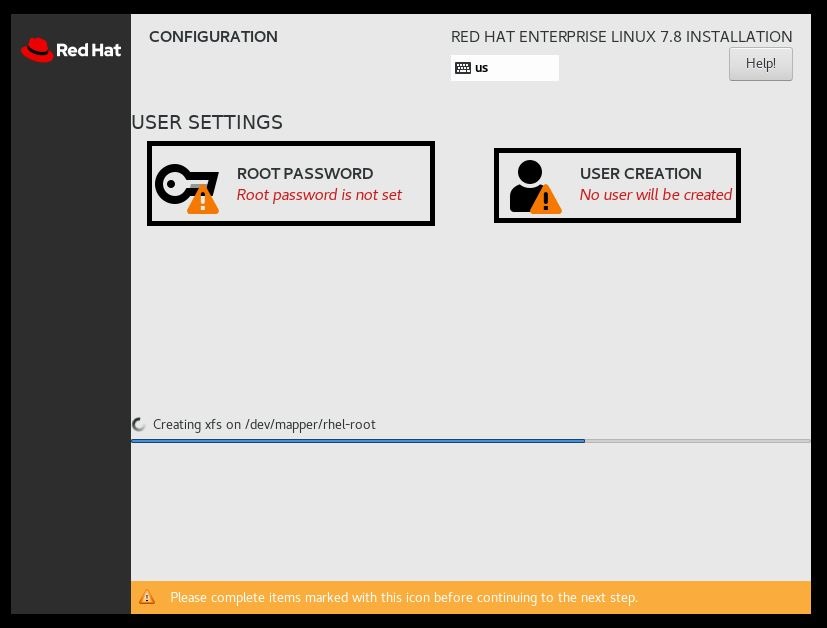
Set your user account and root password
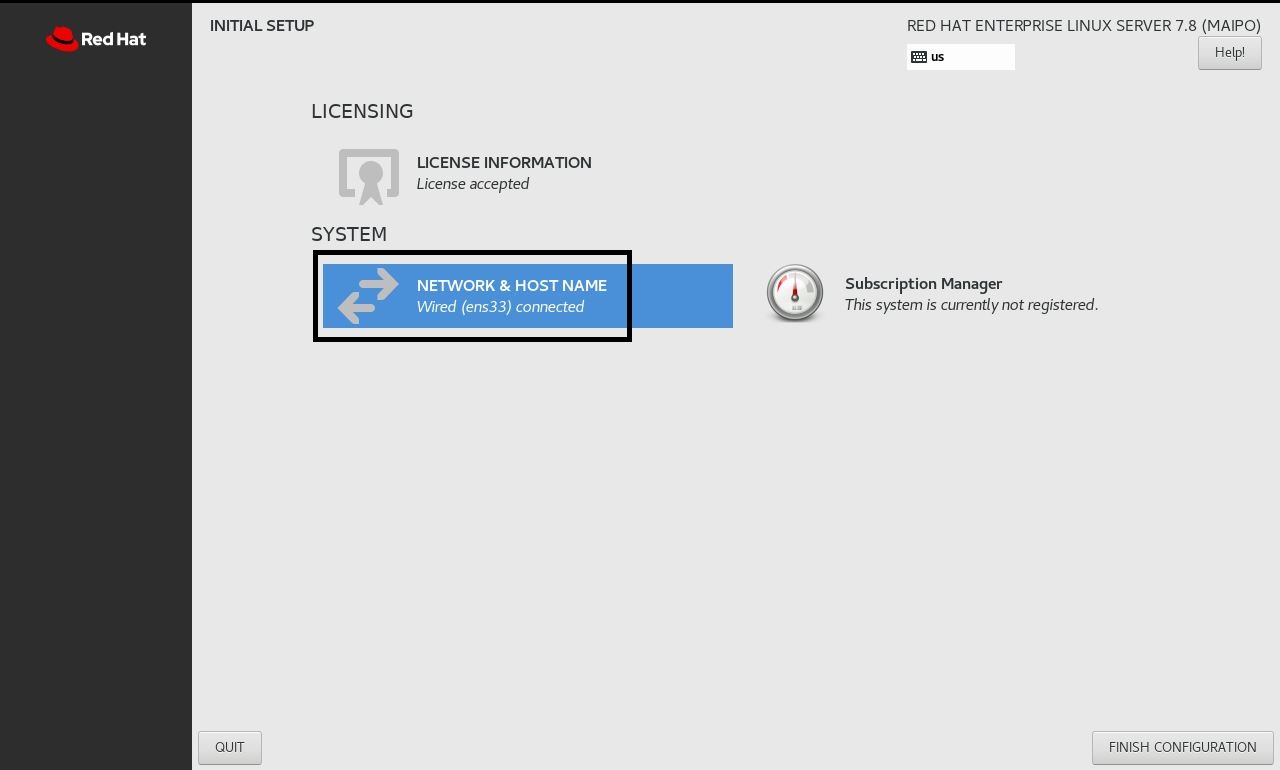
Select Network and Host Name
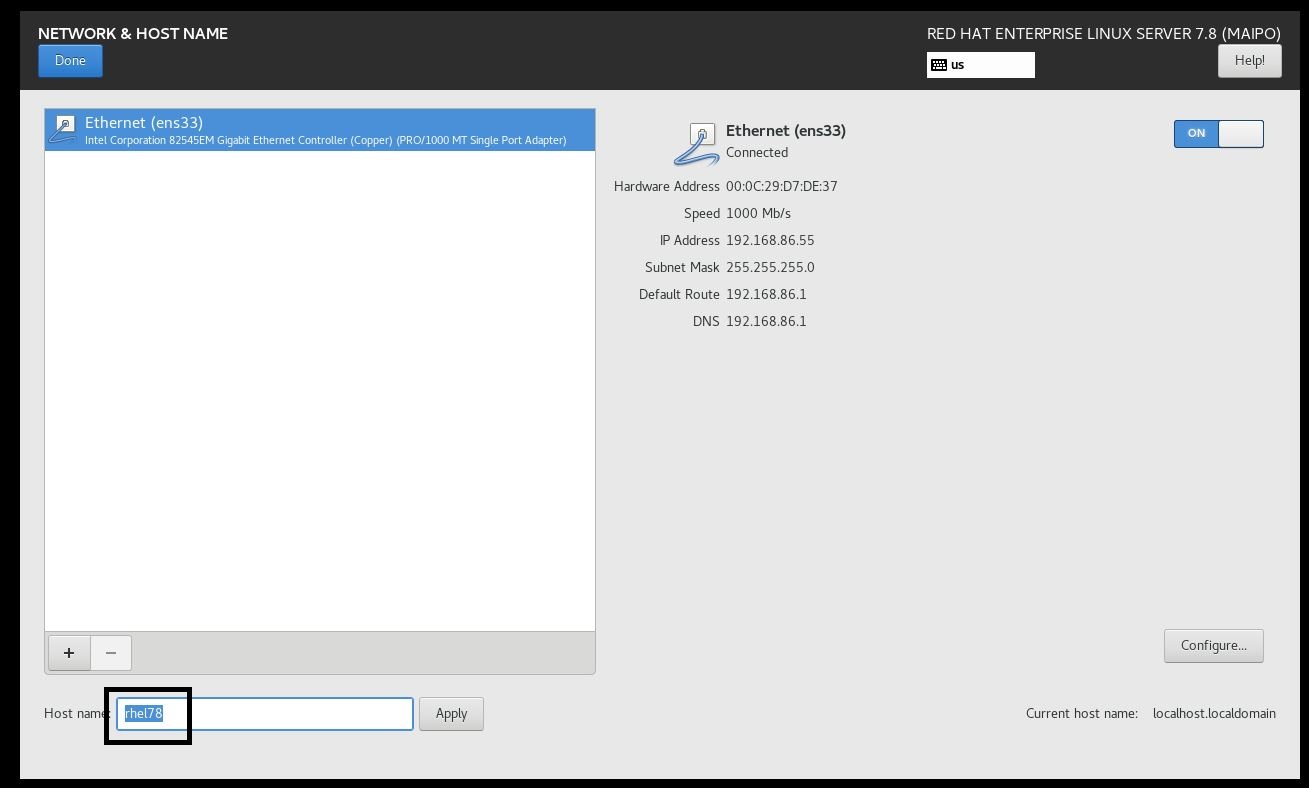
Set your Host name
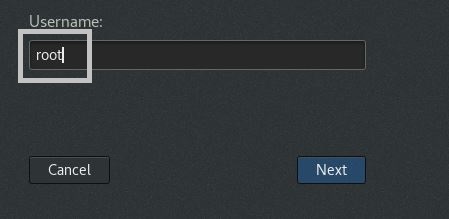
Select Not Listed?
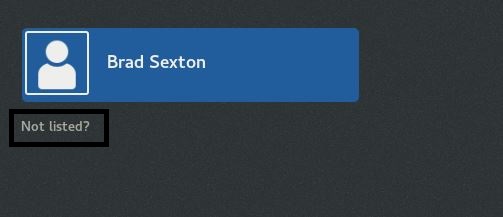
Login as root
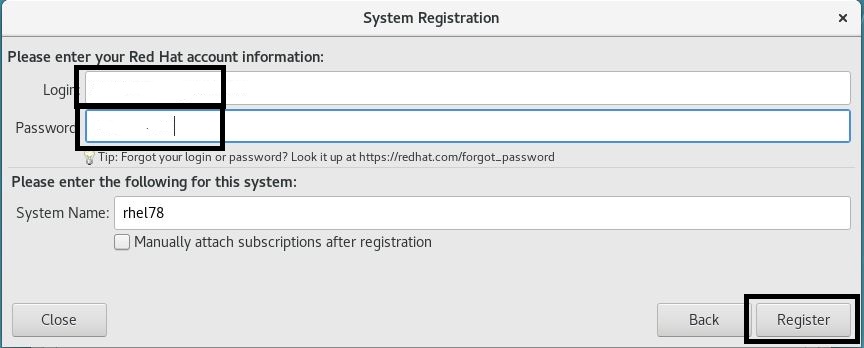
Open Satellite Registration and register your device in order to receiver docker
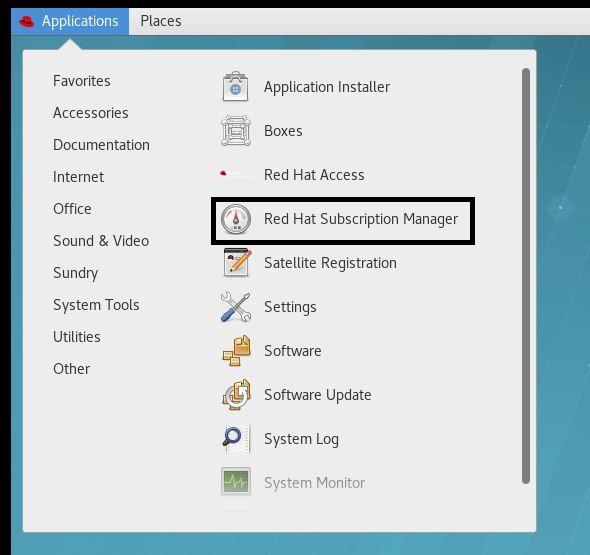
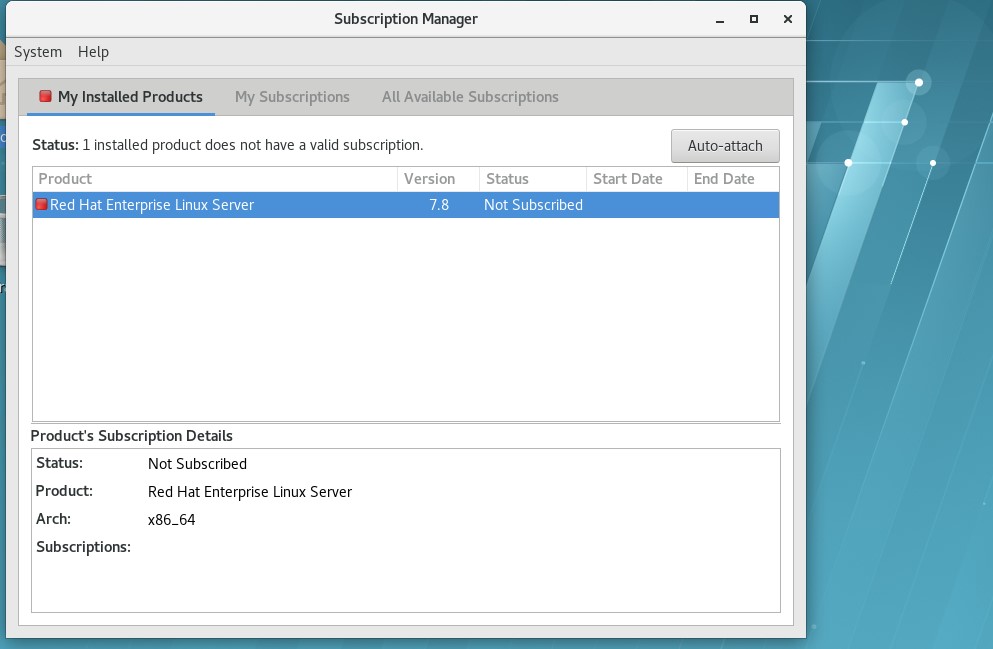
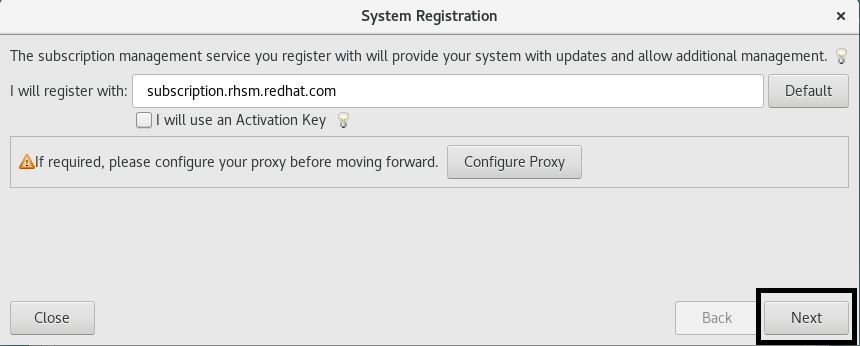
Login with your Red Hat account to register the device
Run the commands
yum-config-manager --enable rhel-7-server-extras-rpms

Yum install docker


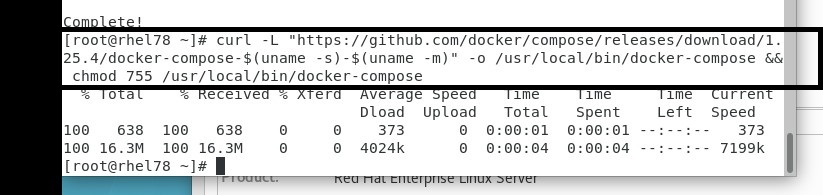
curl -L "https://github.com/docker/compose/releases/download/1.25.4/docker-compose-$(uname -s)-$(uname -m)" -o /usr/local/bin/docker-compose && chmod 755 /usr/local/bin/docker-compose
Service docker start

Set dockers so it starts when OS boots


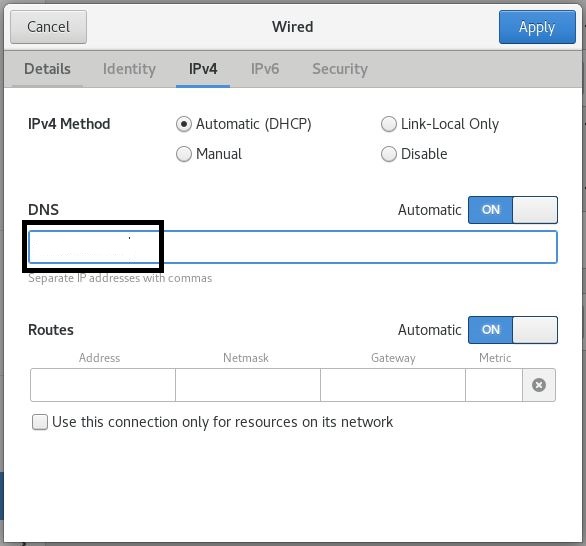
Set your DNS of your local DNS Server
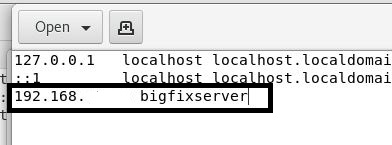
Open /etc/ host to edit the host file to your bigfix server if dns does not resolve
Copy the bigfix installer to your machine and run the command to install the agent

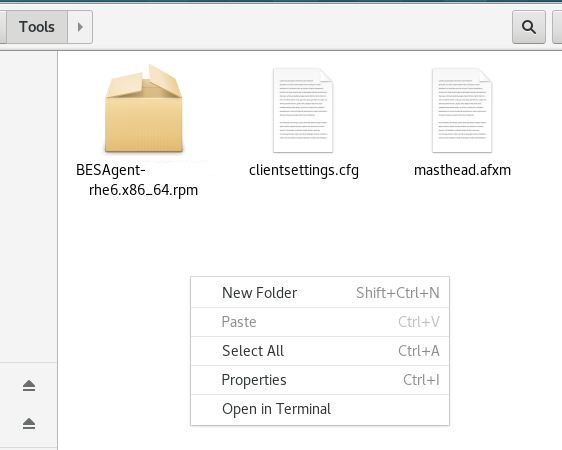
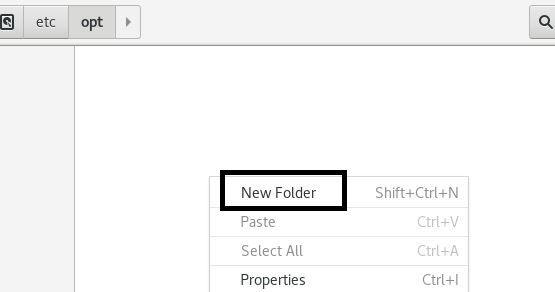
Create a new folder under /etc/opt called BESClient (Case Sensative)
Copy the actionsite.afxm to this folder

Run the command to start the bigfix agent

Once machine is checking into Bigfix remote into your Bigfix Server
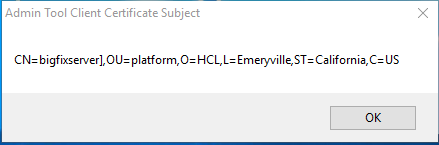
On the Bigfix Server run the command change the path to export the cert to and the common name of your bigfixserver
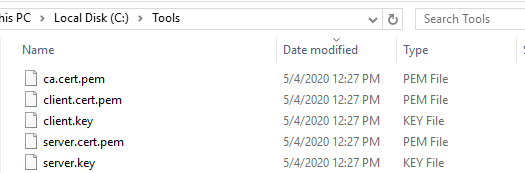
BESAdmin.exe /generateplugincertificates /certificatespath:C:\Tools [/commonname:bigfixserver]

This will extract files to the patch specified
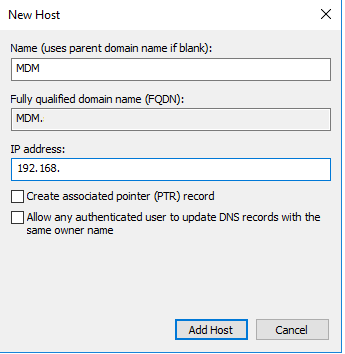
Make sure you have a DNS alias for your MDM server or use the fully qualified name
Installing MDM server Windows Devices
Open WebUI
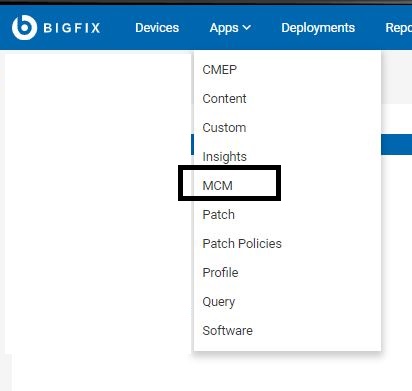
Select Apps- MCM
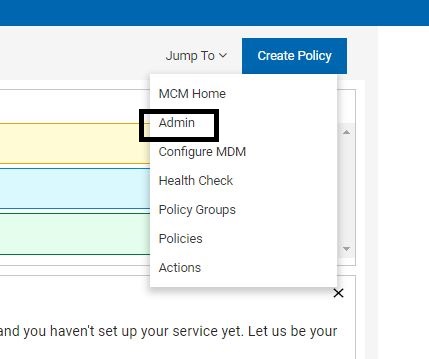
Select Jump to – Admin
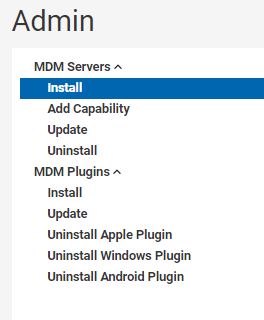
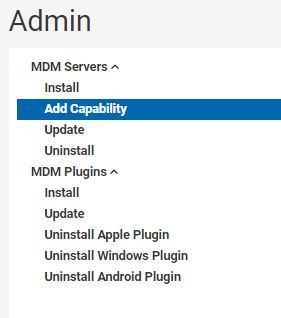
Select MDM Servers – Install
Select your Device you want to target for installing the MDM server. This Device will need to be RHEL with docker installed otherwise it will not be relevant.

Select Windows for the OS you want to install

Select Enable LDAP Auth and enter your LDAPS parameters for your environment
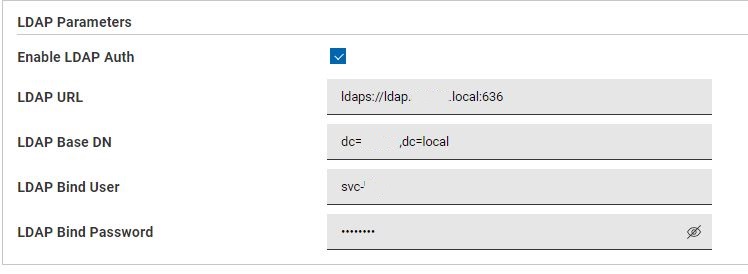
Set the TLS Key Password you would like to use (This sets the password to encrypt the private key)
TSL Certificate is your public facing url. It is recommended to use your certificate chain so it also includes the intermediate certificates.

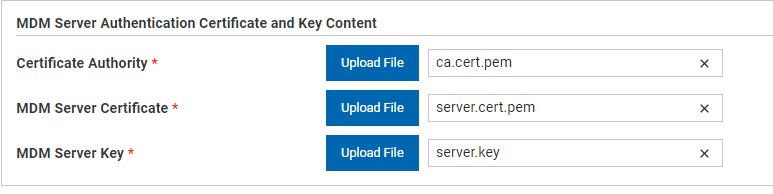
Upload the 3 files below. These files were created on your BESadmin tool on your BigFix Server in steps earlier
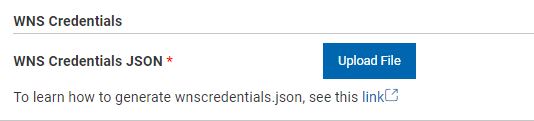
Upload the WNS Credentials you generated with your Microsoft Developer Account – Follow this link for more details https://help.hcltechsw.com/bigfix/10.0/mcm/MCM/Config/c_WNS.html
Select the Install button to complete the server install

Configure the Windows Plugin service
Select Apps- MCM

Select Jump to – Admin

Select MDM Plugins – Install


Select the MDM Plugin Install Type to Windows

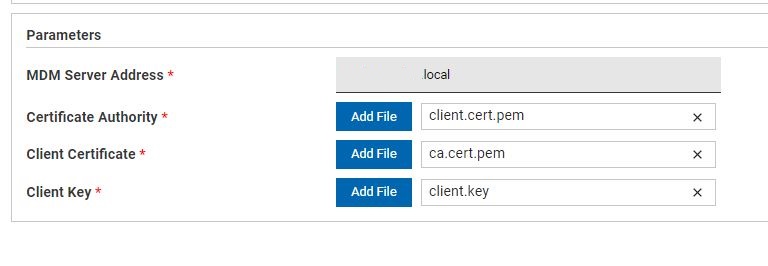
Set your mdm Server Address
Upload the following files (These 3 files were created from your BigFix Server BESAdmin Tool)

Select Deploy to install the Windows Plugin to your Plugin portal

Installing Apple MDM Server
Go to MDM Servers – Add Capability
Select Apple as your Operating System

This is the password you set when creating your key file when creating your apple CSR (https://help.hcltechsw.com/bigfix/10.0/mcm/MCM/Config/c_configuring_push_notification_mcm.html)
Add the Apple Push Certificate File you (This will be downloaded from the Apple Push Certificate Portal in your email instructions from HCL) https://help.hcltechsw.com/bigfix/10.0/mcm/MCM/Config/c_configuring_push_notification_mcm.html
Add the Apple Push key that was created - https://help.hcltechsw.com/bigfix/10.0/mcm/MCM/Config/c_configuring_push_notification_mcm.html
Set the welcome message you would like User to see when they enroll
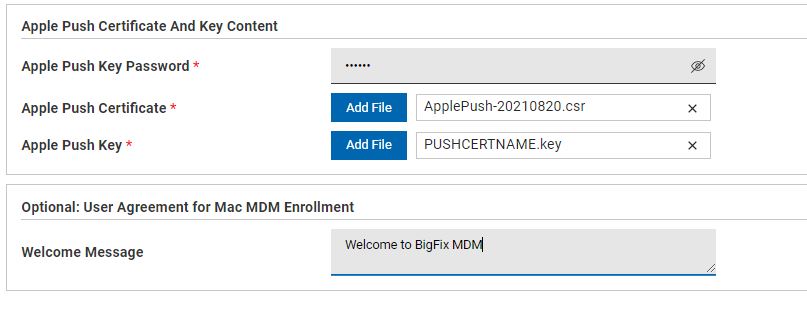
Select the Deploy Button to install the Apple MDM Server

Install the Apple Plugin Server
Select MDM Plugins - Install
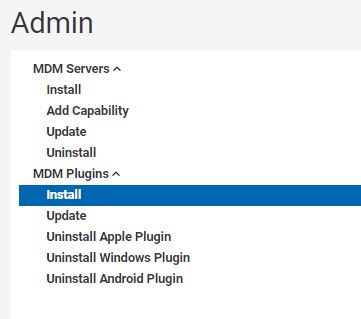
Select your Plugin Server to deploy to

Select Apple as the Plugin Type

Set your mdm Server Address
Upload the following files (These 3 files were created from your BigFix Server BESAdmin Tool)
Select Deploy to install the Windows Plugin to your Plugin portal
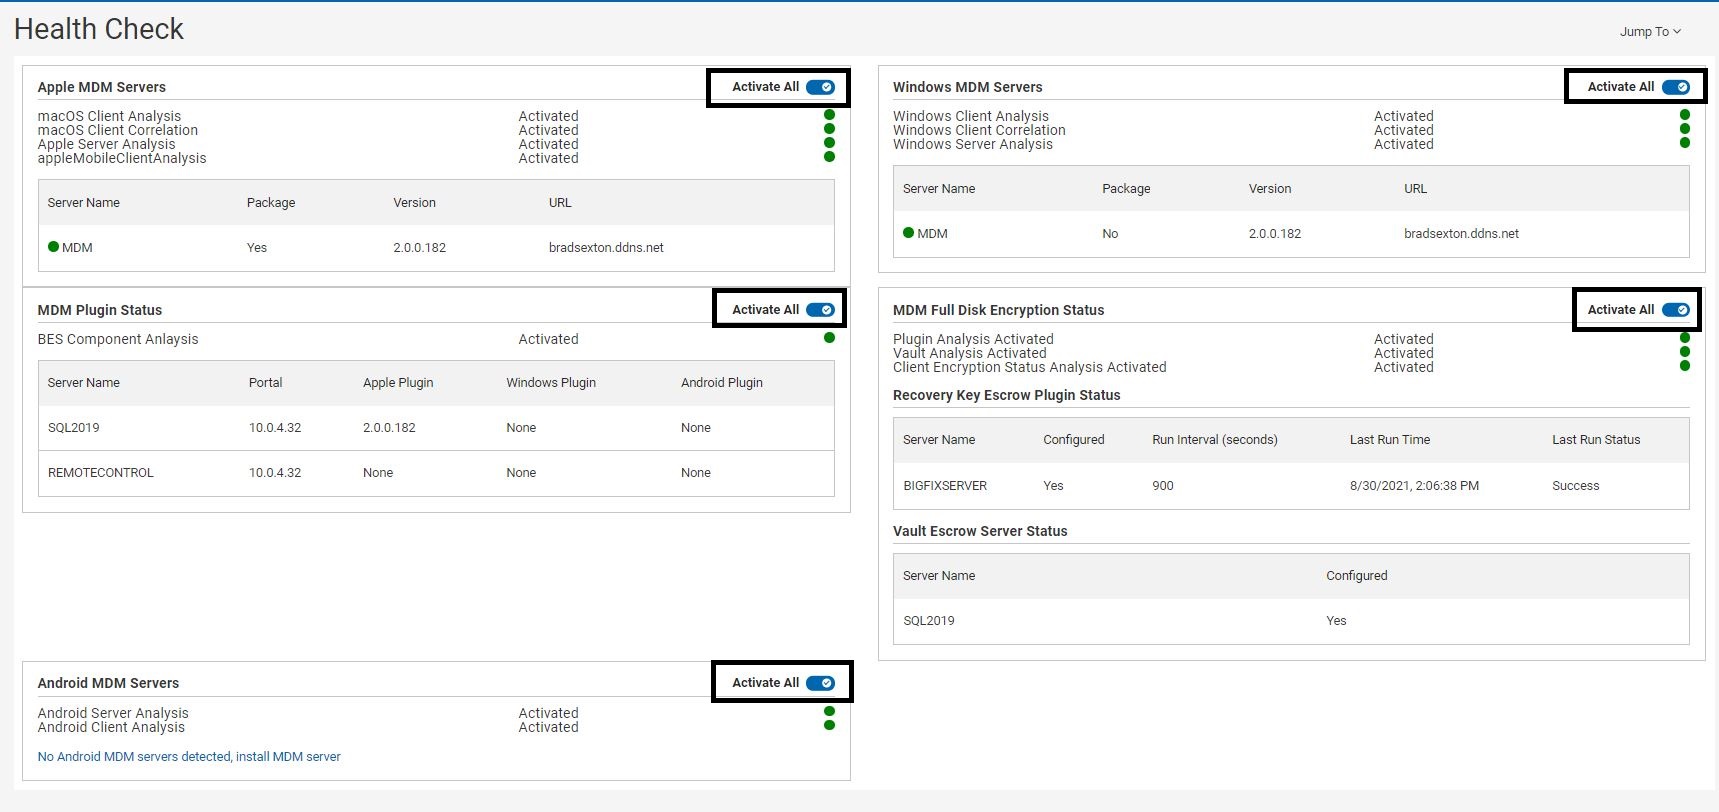
Verify the Health of the environment
Select Apps- MCM

Jump To – Health Check
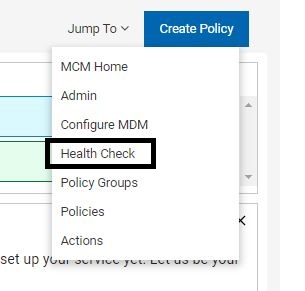
If your analysis are not already active select the activate all button to activate each of the analysis.
Prestage the Windows and Mac Client install as part of MDM
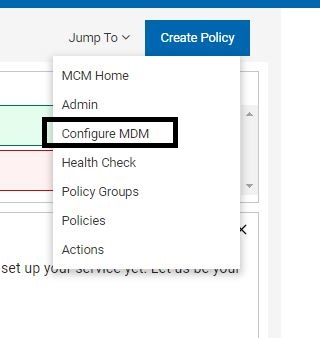
Select Jump to – Configure MDM
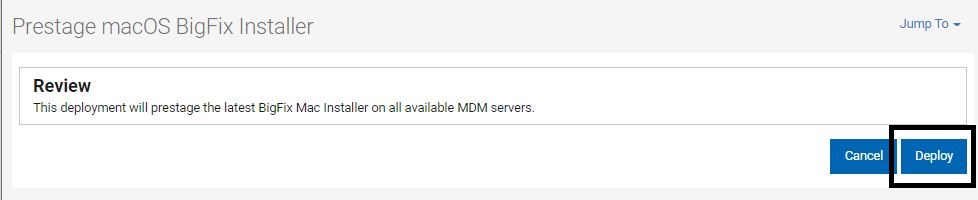
Select Prestage macOS BigFix Installer
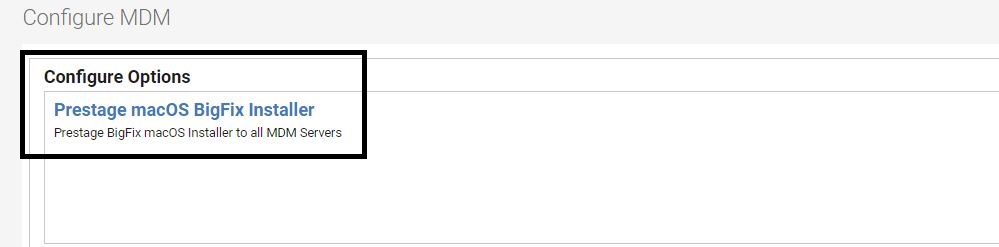
Select the Deploy Button to Stage the Mac installer
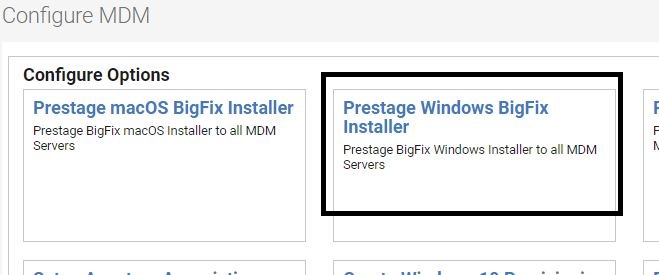
Select Jump to – Configure MDM

Select Prestage Windows BigFix Installer
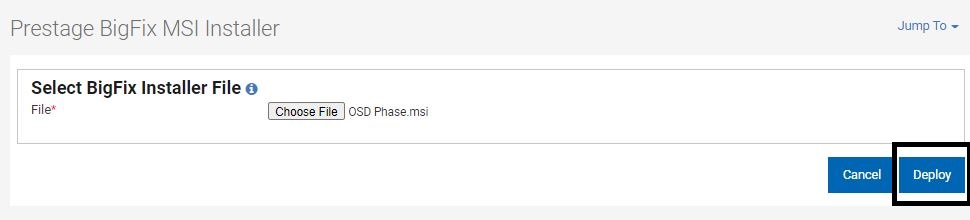
Select the BIgFIx MSI (This article describes how to edit the msi and add client settings so software can automatically be provisioned - https://www.linkedin.com/pulse/bigfix-use-mcm-automatically-provision-install-software-brad-sexton/ )
Select the MSI you created and hit the deploy Button to prestage the MSI
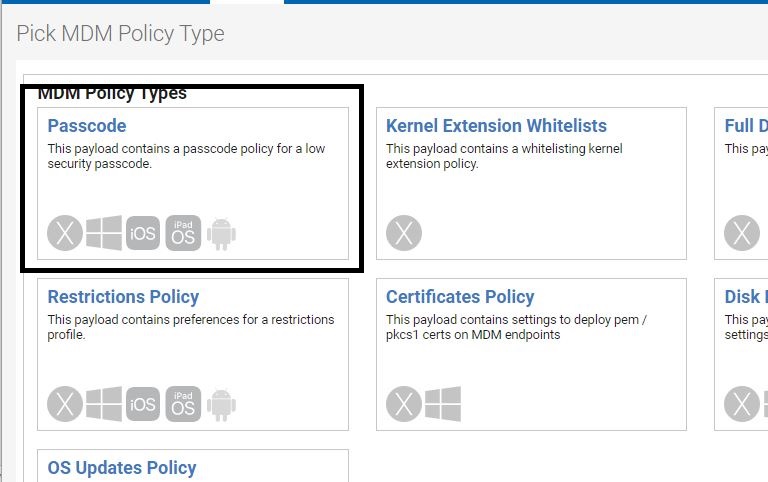
Select Jump To – Policies
Here we are going to create a simple passcode policy but this can be anything for this step such as deploy a certificate, passcode, encryption, etc.
Name Your policy
Set the Site you want to store the policy in
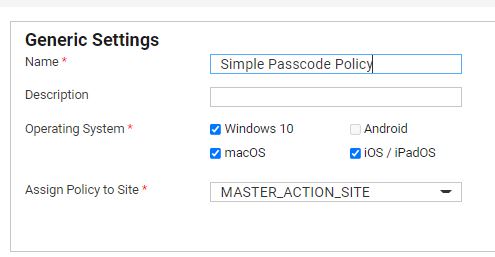
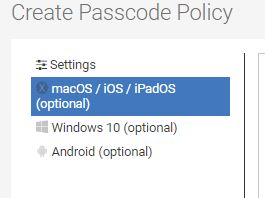
Select Mac / iOS / IPadOS
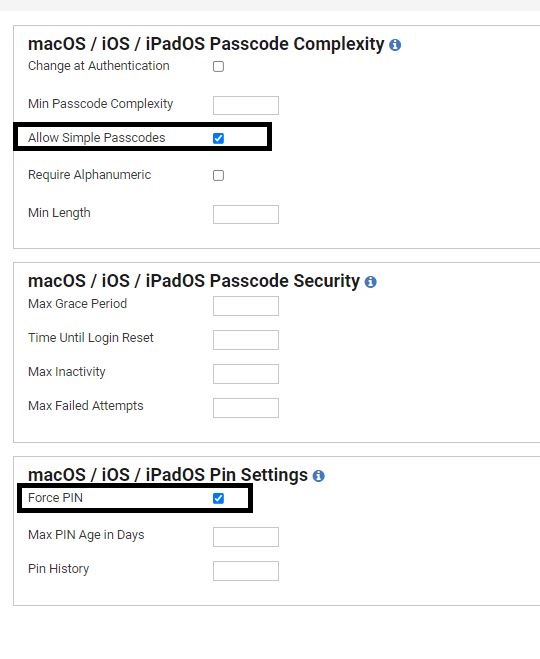
Select a few settings you would like to apply
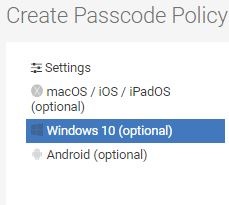
Select Windows 10
Select Allow Simple Passcodes
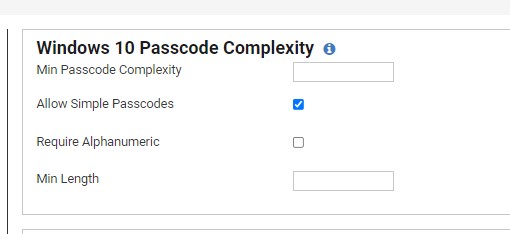
Select Save
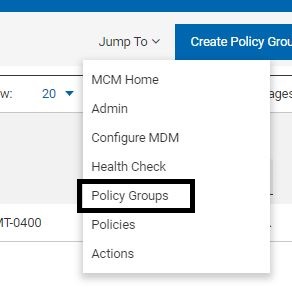
Select Jump To – Policy Groups
Select the Create Policy Groups Button
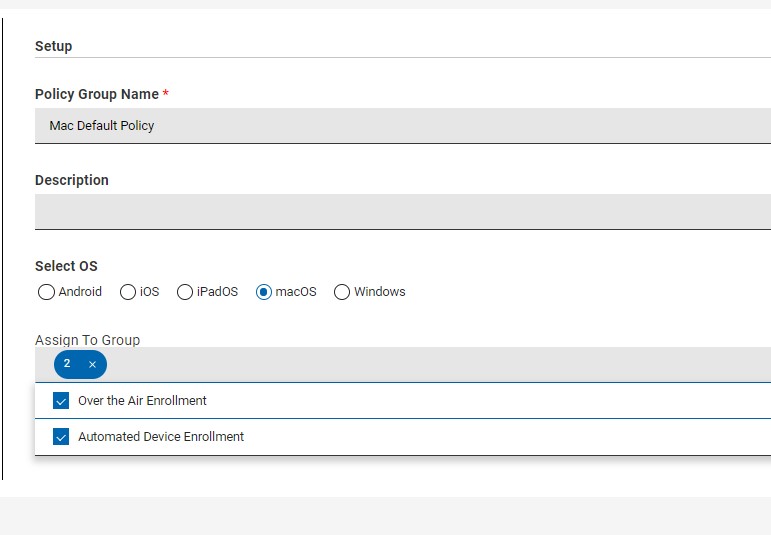
Name Your Policy Group Name
Select the OS to MacOS
Assign to Group and Select Over the Air Enrollment and Automated Device Enrollment
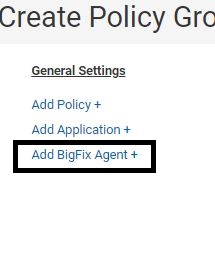
Select Add BigFix Agent
Add your DMZ relay information along with your passcode for the client. This is used with Relay Authentication enabled https://help.hcltechsw.com/bigfix/9.5/platform/Platform/Console/ManualKeyExchange.html#Manualkeyexchange
Select the Mac Agent you want to Deploy and select Confirm (Note if you just uploaded the mac installer it might take a few minutes before it to show up in the list)

Select Add Policy
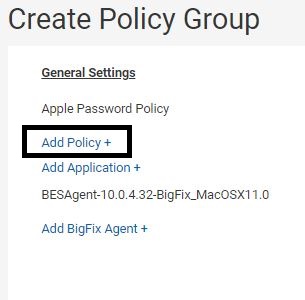
Select the policy we created Earlier from the list and click ok

Save the Policy

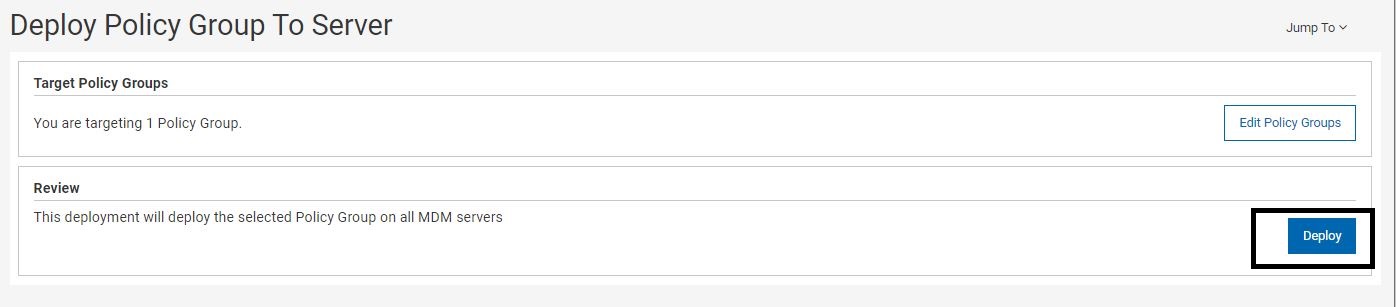
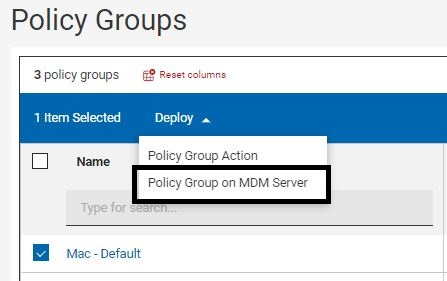
Select the Policy you just created and Click Deploy – Policy Group on MDM Server
Select Jump To – Policy Groups

Select the Create Policy Groups Button

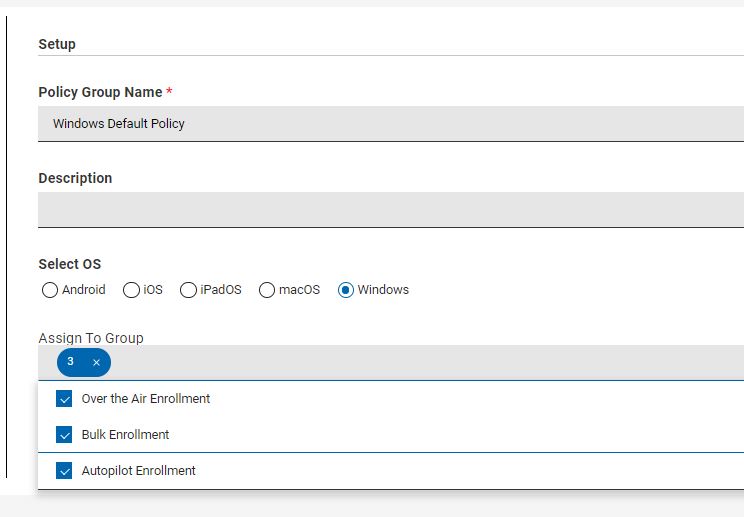
Name Your Policy Group Name
Select the OS to Windows
Assign to Group and Select Over the Air Enrollment, Bulk Enrollment, and Autopilot Enrollment
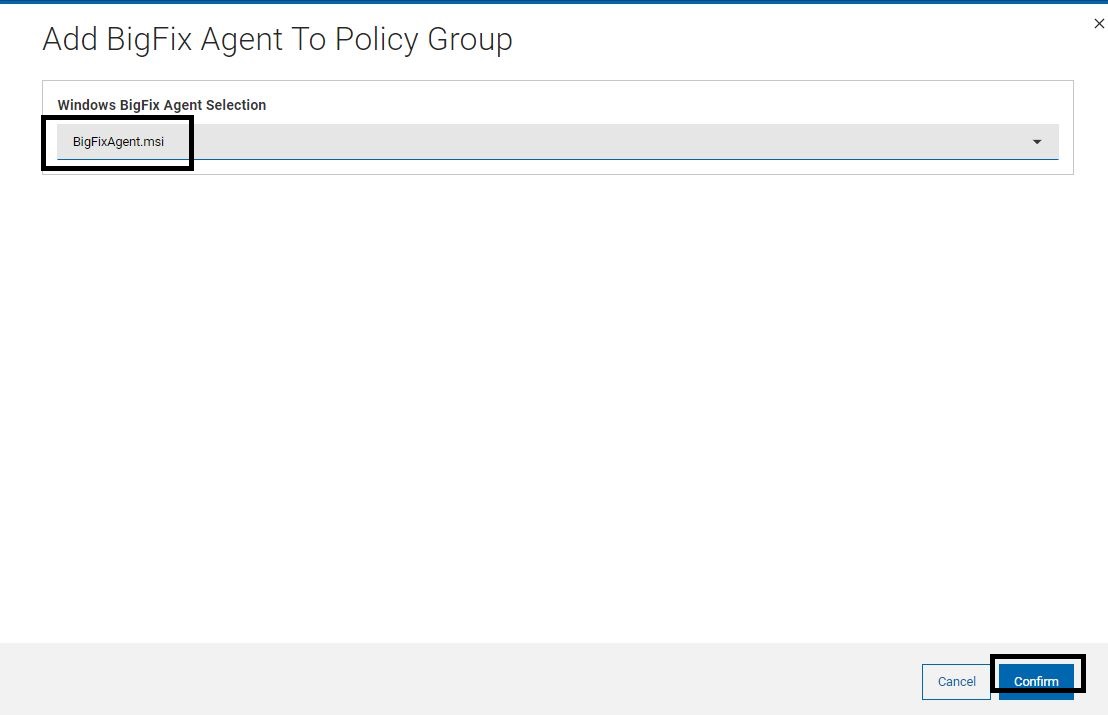
Select Add BigFix Agent

Select the MSI file you would like to deploy when the machine enroll and save
Note: if you just uploaded the msi installer it might take a few minutes before it to show up in the list
Select Add Policy

Select the Policy we Created Earlier and select OK

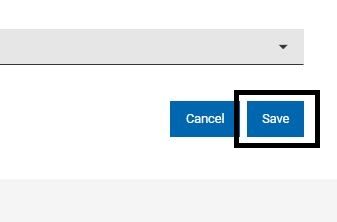
Select Save
Select The Windows Policy we just created and Deploy – Policy Group on MDM Server
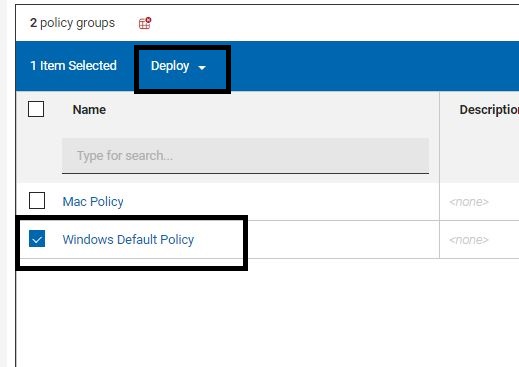
Click Deploy