Overview
There may be situations where a Driver Package for a given model is not available from hardware vendors. In these cases, one option is to extract the drivers that are used in these systems and then import them in the Driver Library leveraging the Model Bind feature.
This is especially true if the hardware model in question is provided by the vendor with the running operating system that you need to provision (maybe after some customizations).
If the hardware model does not have a a running operating system, or if you need to provision a different operating system, then you can connect the system to the BigFix environment and let the driver selection logic - that operates at deployment time - selects the best matching drivers among the drivers currently loaded.
Either way, once you have a running system you can use a driver extractor tool to create your own Driver Package.
In the following use case we are provisioning a Lenovo X220 Thinkpad and we will show how to create and import a custom driver package.
Lenovo does not provide a driver package for this model. The model was received with a running Windows 7 operating system.
Using Driver Extractor Tools
Several tools are available that can extract the device drivers that are currently in use from a running system. They all operate in a similar way; when started you can choose which drivers to export. In this case we select all non Microsoft drivers, as these drivers are probably already available in the operating system image but you can choose to extract all the drivers if you need them.
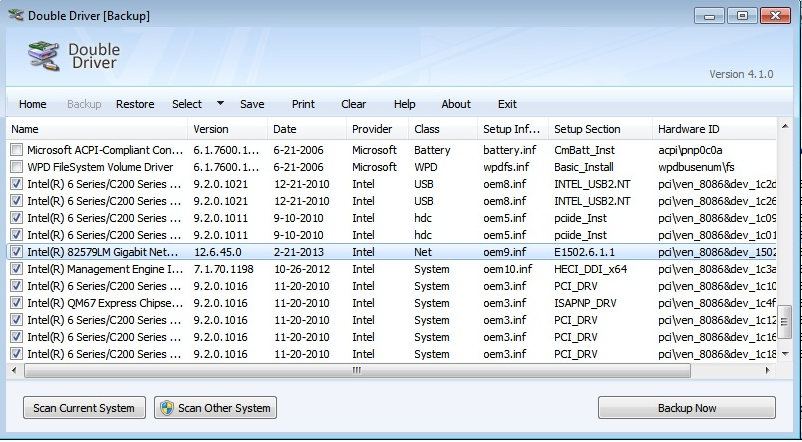
The result of the extract operation is a directory structure very similar to the one found in the official driver packages.
Preparing to Import the Custom Driver Package
Copy the extracted package to the machine where the BigFix Console is running.
The tool that we used (Double Driver in this example), creates a directory for each extracted driver. If the same driver applies to different devices present in the system, the tool creates one directory for each device and in each directory creates a file named restore.ini. This file is different in each directory causing the import processing to compute a different SHA value for each driver, even though it is the same driver. This causes the duplication of drivers at import time.
Important: Delete all the restore.ini files (or similar files if other tools are used) from the drivers tree.

Import Custom Driver Package
When we have deleted all the restore.ini files we will have a custom driver package that can be imported. We proceed with the drivers import in the same way as if the package had been provided by the hardware vendor.
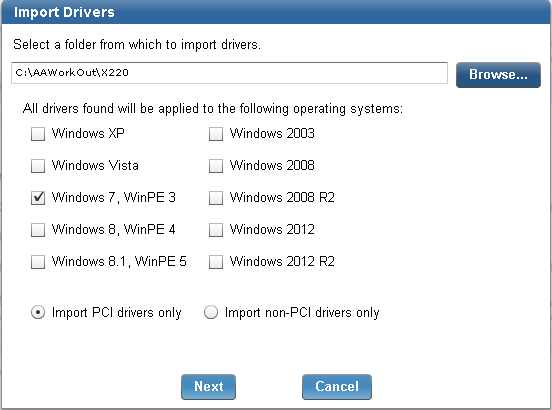
We specify the custom folder and the operating system we plan to deploy.
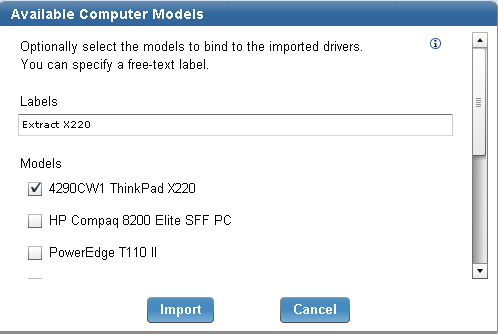
We specify a label to easily identify these drivers at a later time and the computer model to bind to this custom driver package.
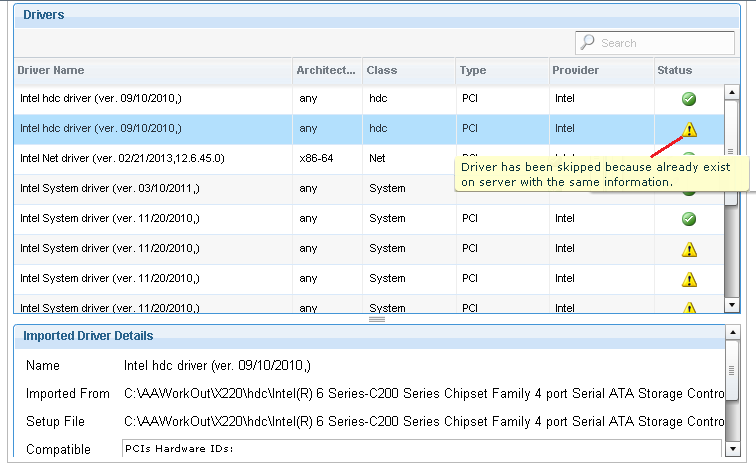
Since the extract tool has created a directory for every device instance, the same driver is present in multiple directories.
The import process is able to detect this situation and skip duplicate drivers from being imported.
Once the drivers have been imported they are handled as any other driver in the library.
The Custom Driver Package at Work
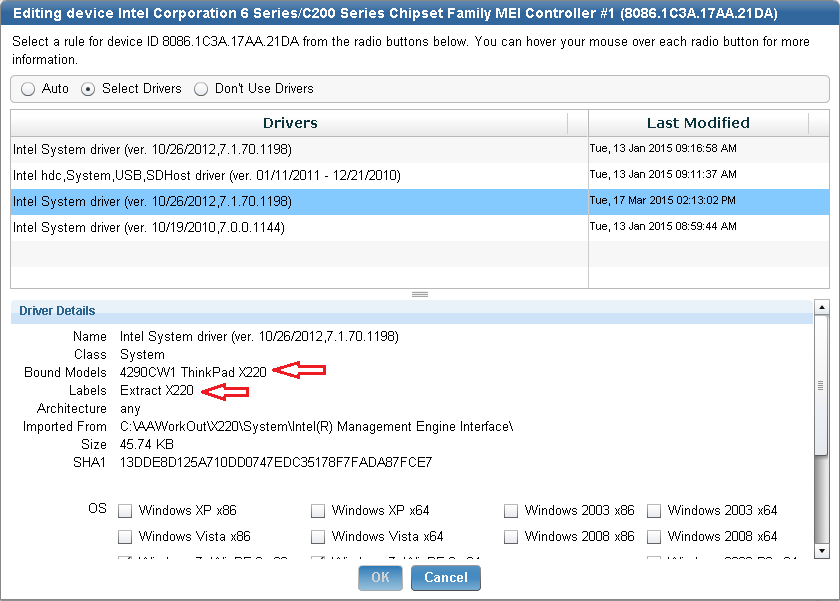
We can verify how the Driver Selection Logic works on our Lenovo X220 thinkpad from the Bindings tab of the driver library.
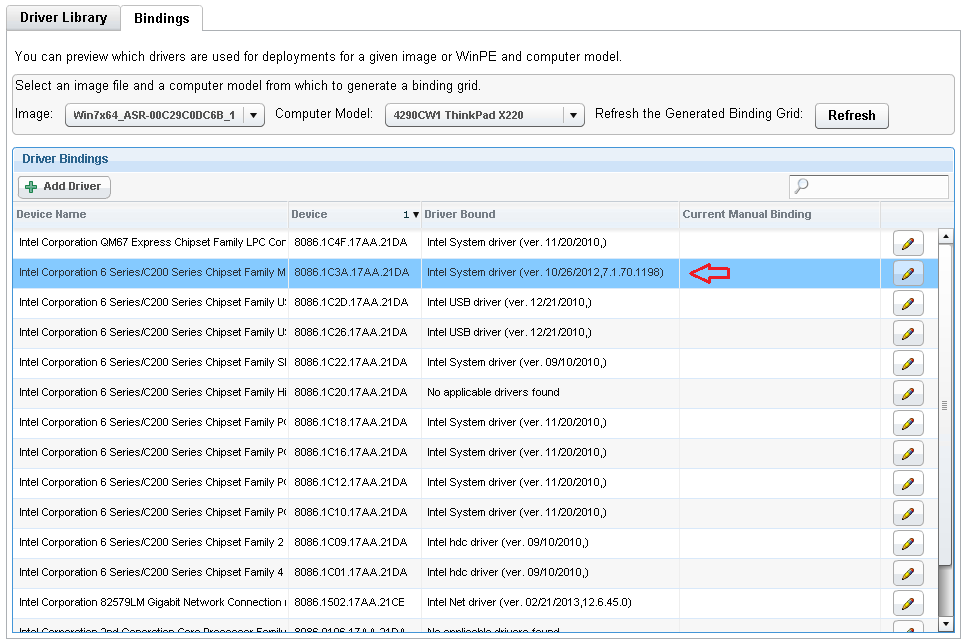
We can select one or more devices and check the driver being used. The driver The window below displays the driver that has been selected, which is highlighted.
Conclusion
Using driver extractor tools is a convenient approach in creating custom driver packages in specific situations where the hardware provider does not supply any.