The devices need to be configured and assigned to users as part of the Autopilot configuration.
Before you begin: You need the Hardware ID of the device to configure it in the Azure portal. To get the HWID, from the endpoint/device, open MicroSoft PowerShell as an Administrator and run the following commands:
"New-Item -Type Directory -Path "C:\HWID"
Set-Location -Path "C:\HWID"
Set-ExecutionPolicy -Scope Process -ExecutionPolicy Unrestricted
Install-Script -Name Get-WindowsAutoPilotInfo
Get-WindowsAutoPilotInfo.ps1 -OutputFile AutoPilotHWID.csv
"
After successfully running these commands, the device details are fetched and stored in the output file AutoPilotHWID.csv.
About this task: To configure Autopilot devices and assign users, do the following:
- In the Microsoft Endpoint Manager admin center, from the left navigation pane, select Devices→Windows enrollment and under Windows Autopilot Deployment Program select Devices.
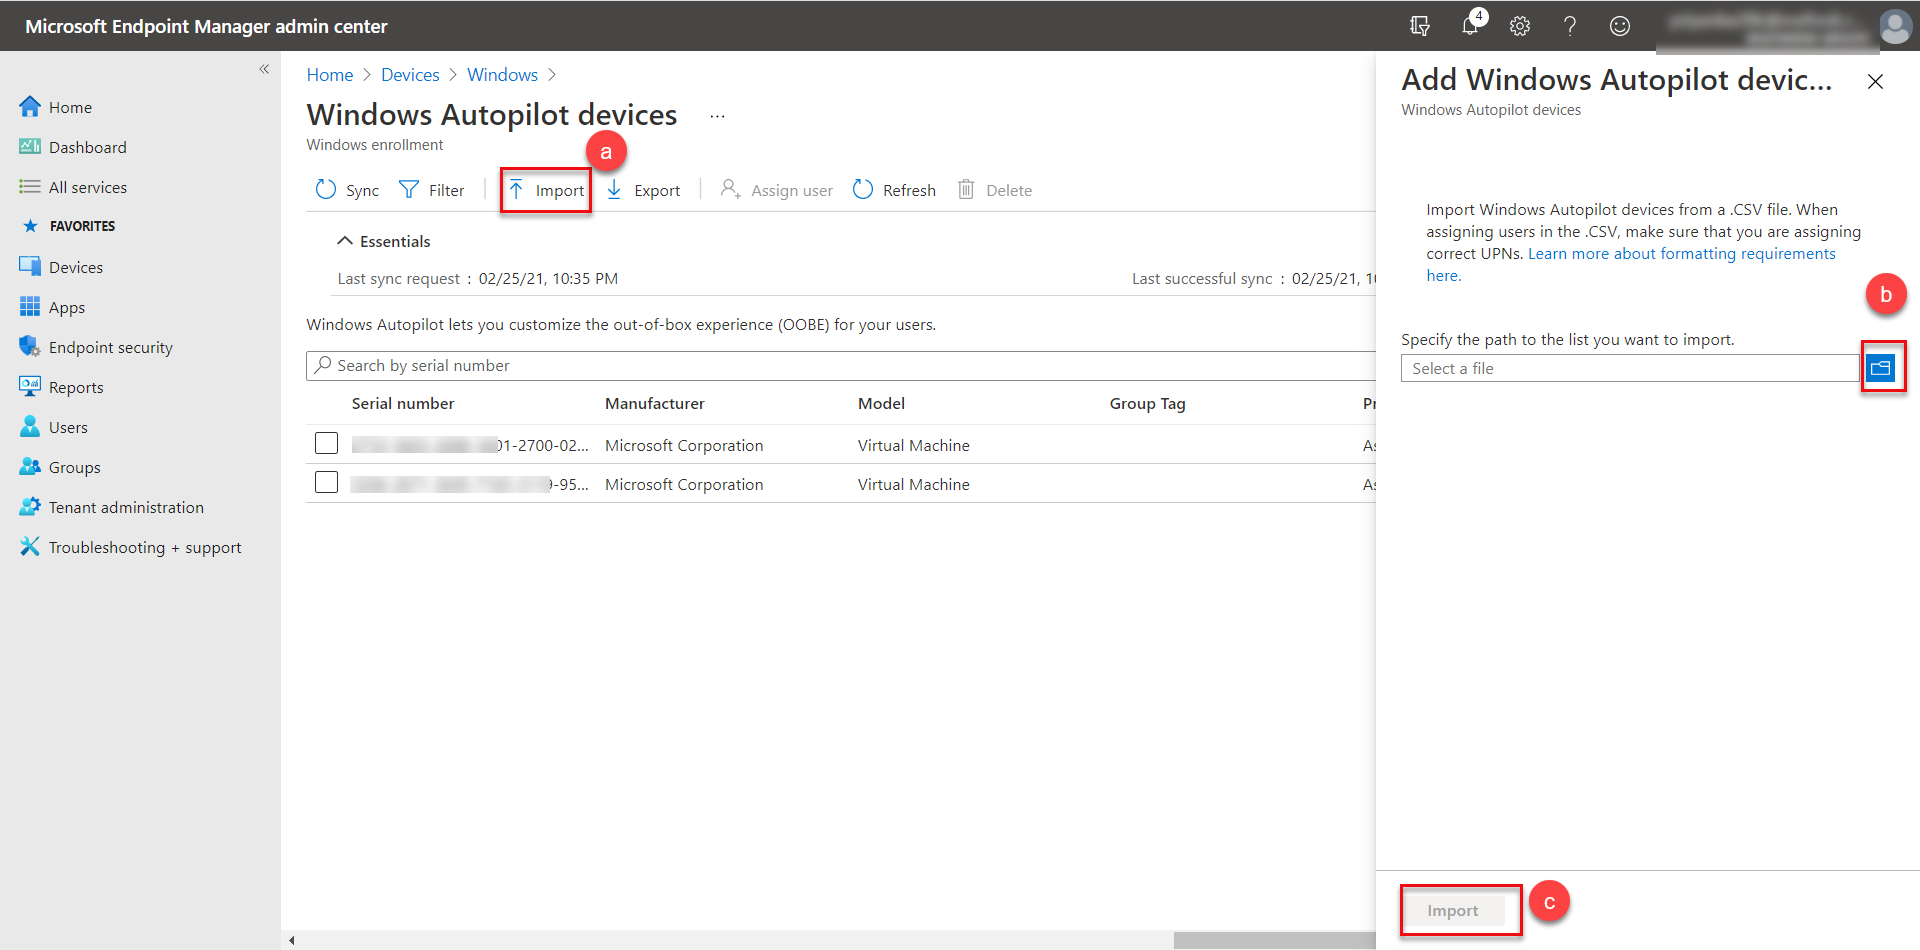
- To import device details, on the Windows Autopilot devices screen, do the following:
- Click Import.
- On the Add Windows Autopilot devices screen, click the browse button to navigate and locate the .csv file (that you obtained by running the PowerShell command from the endpoint) that contains the device details.
- Click Import.
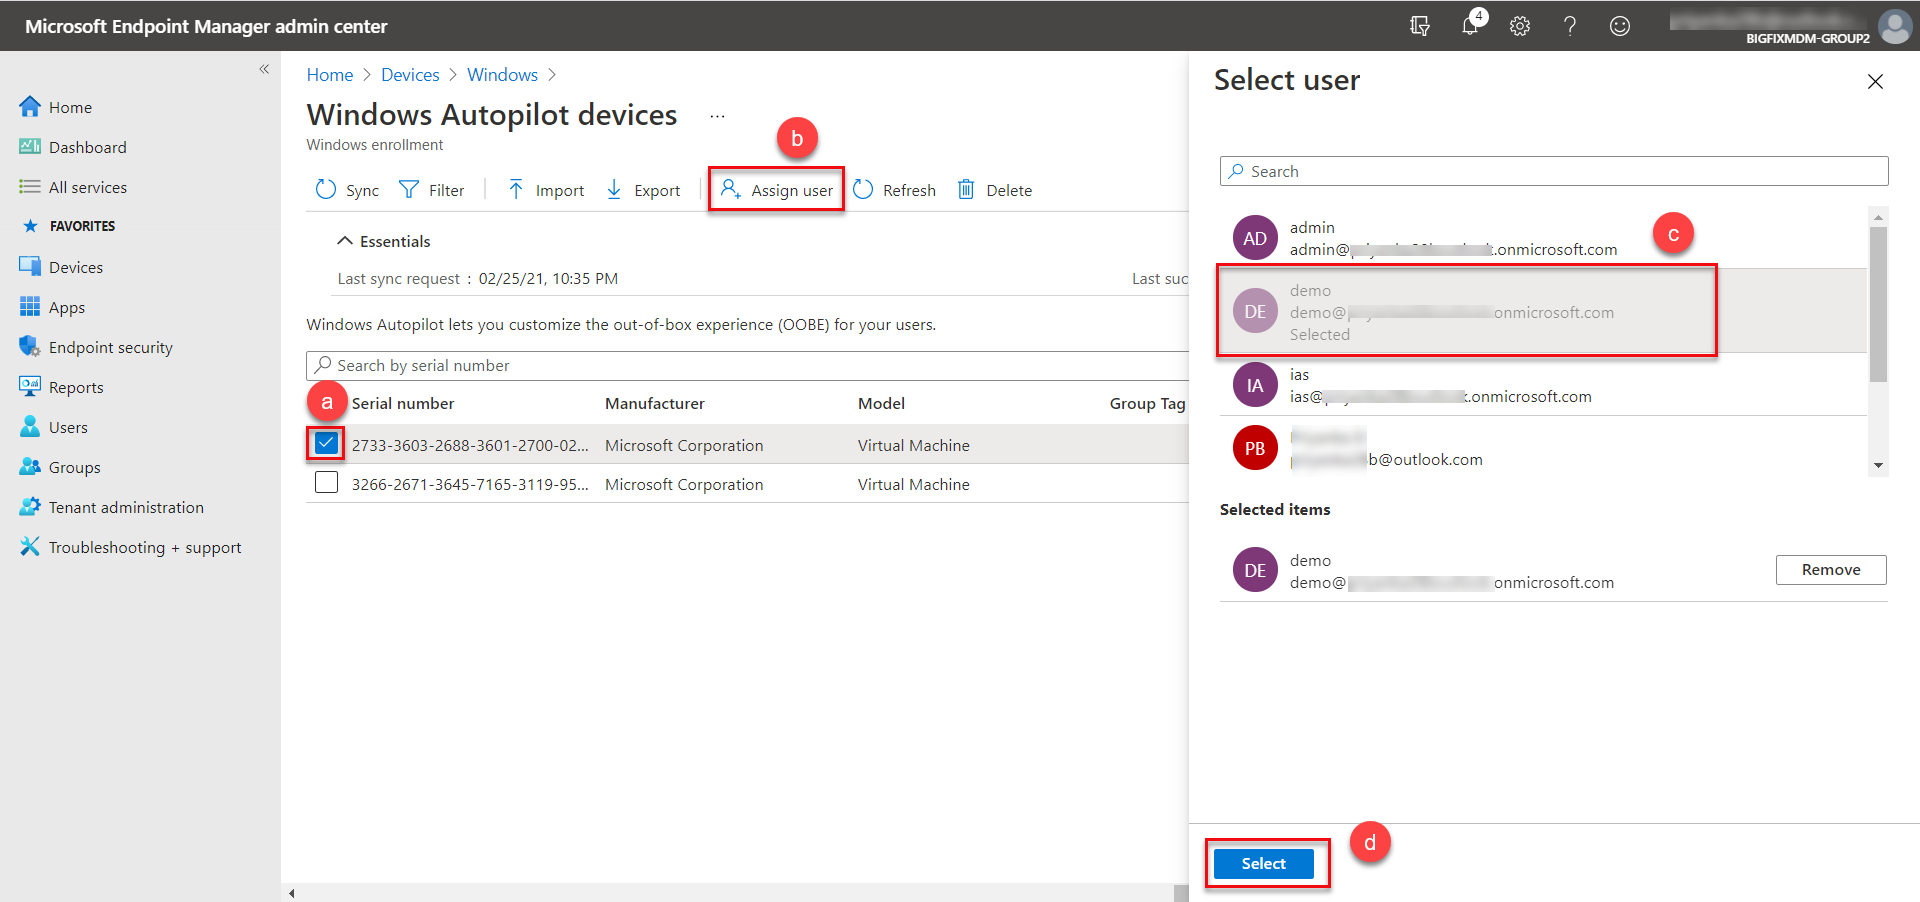
- To assign users, on the Windows Autopilot devices screen, do the following:
- Click Assign user. The available devices are listed with device details.
- Select a device.
- From Select user screen, select a user from the list.
- Click Select.
- In the next screen, review the details and click Save.
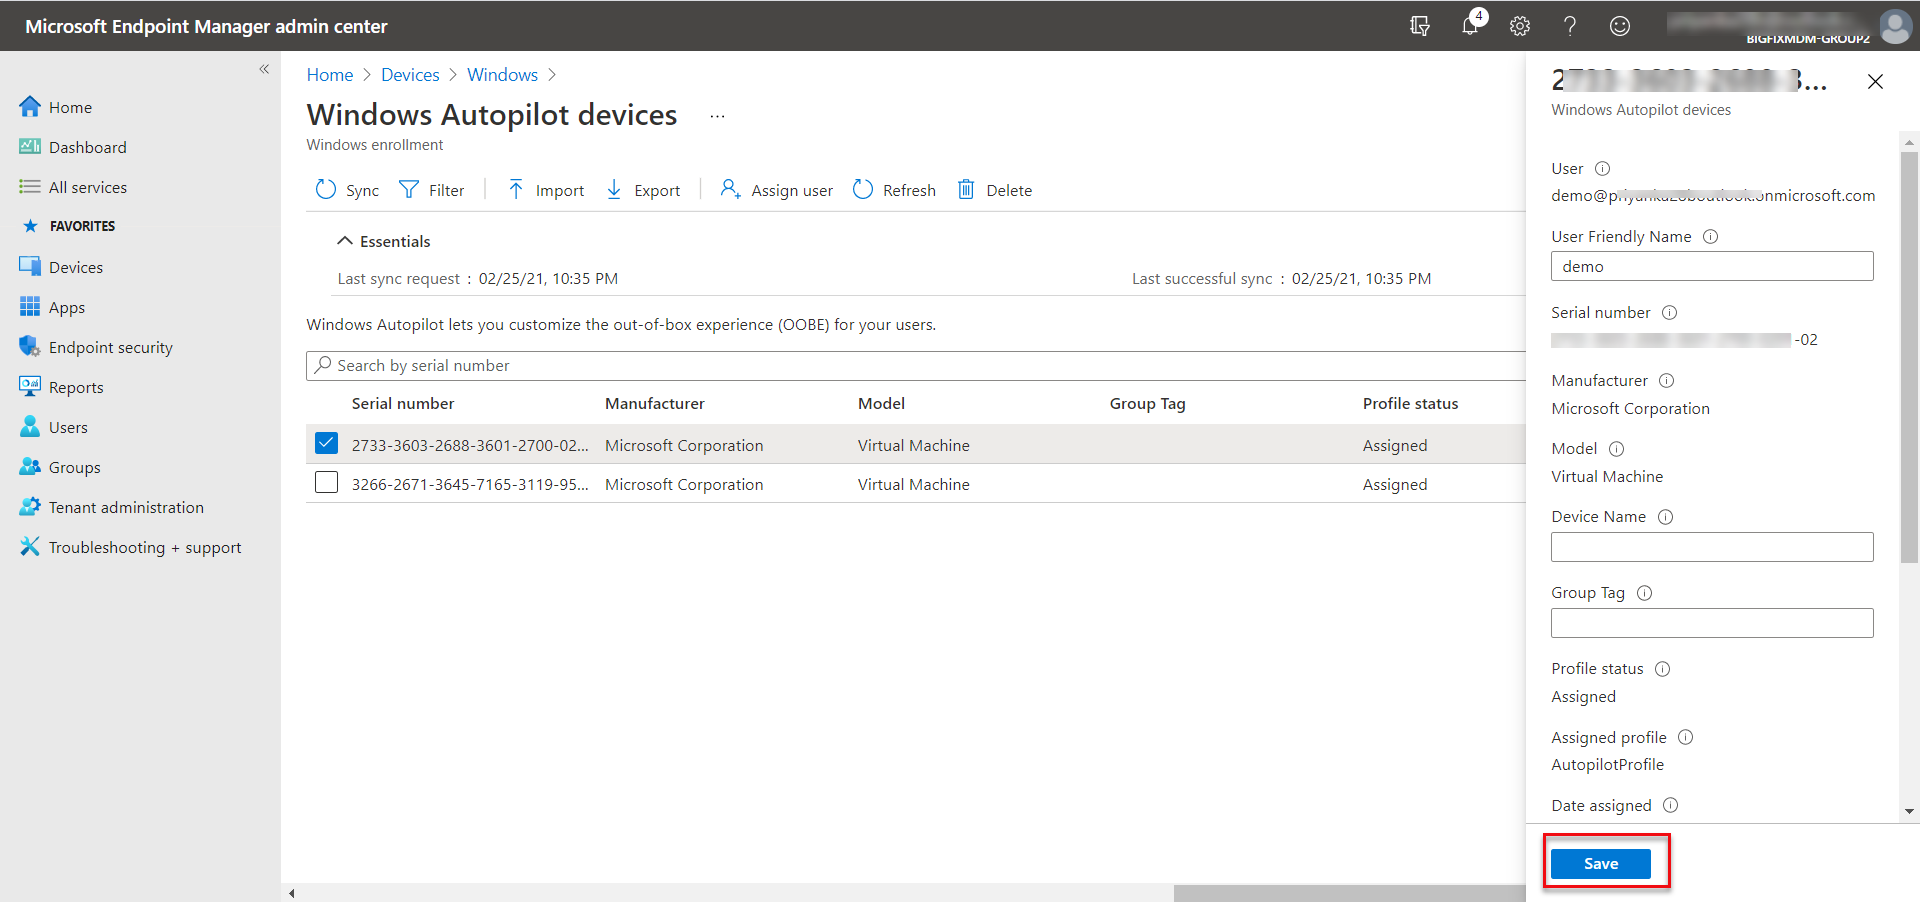
Results: The Autopilot devices are configured and the users assigned for the devices.
Next step: User switches the machine on, connects to the internet, enters the password for the assigned user, and the enrollment process gets completed.